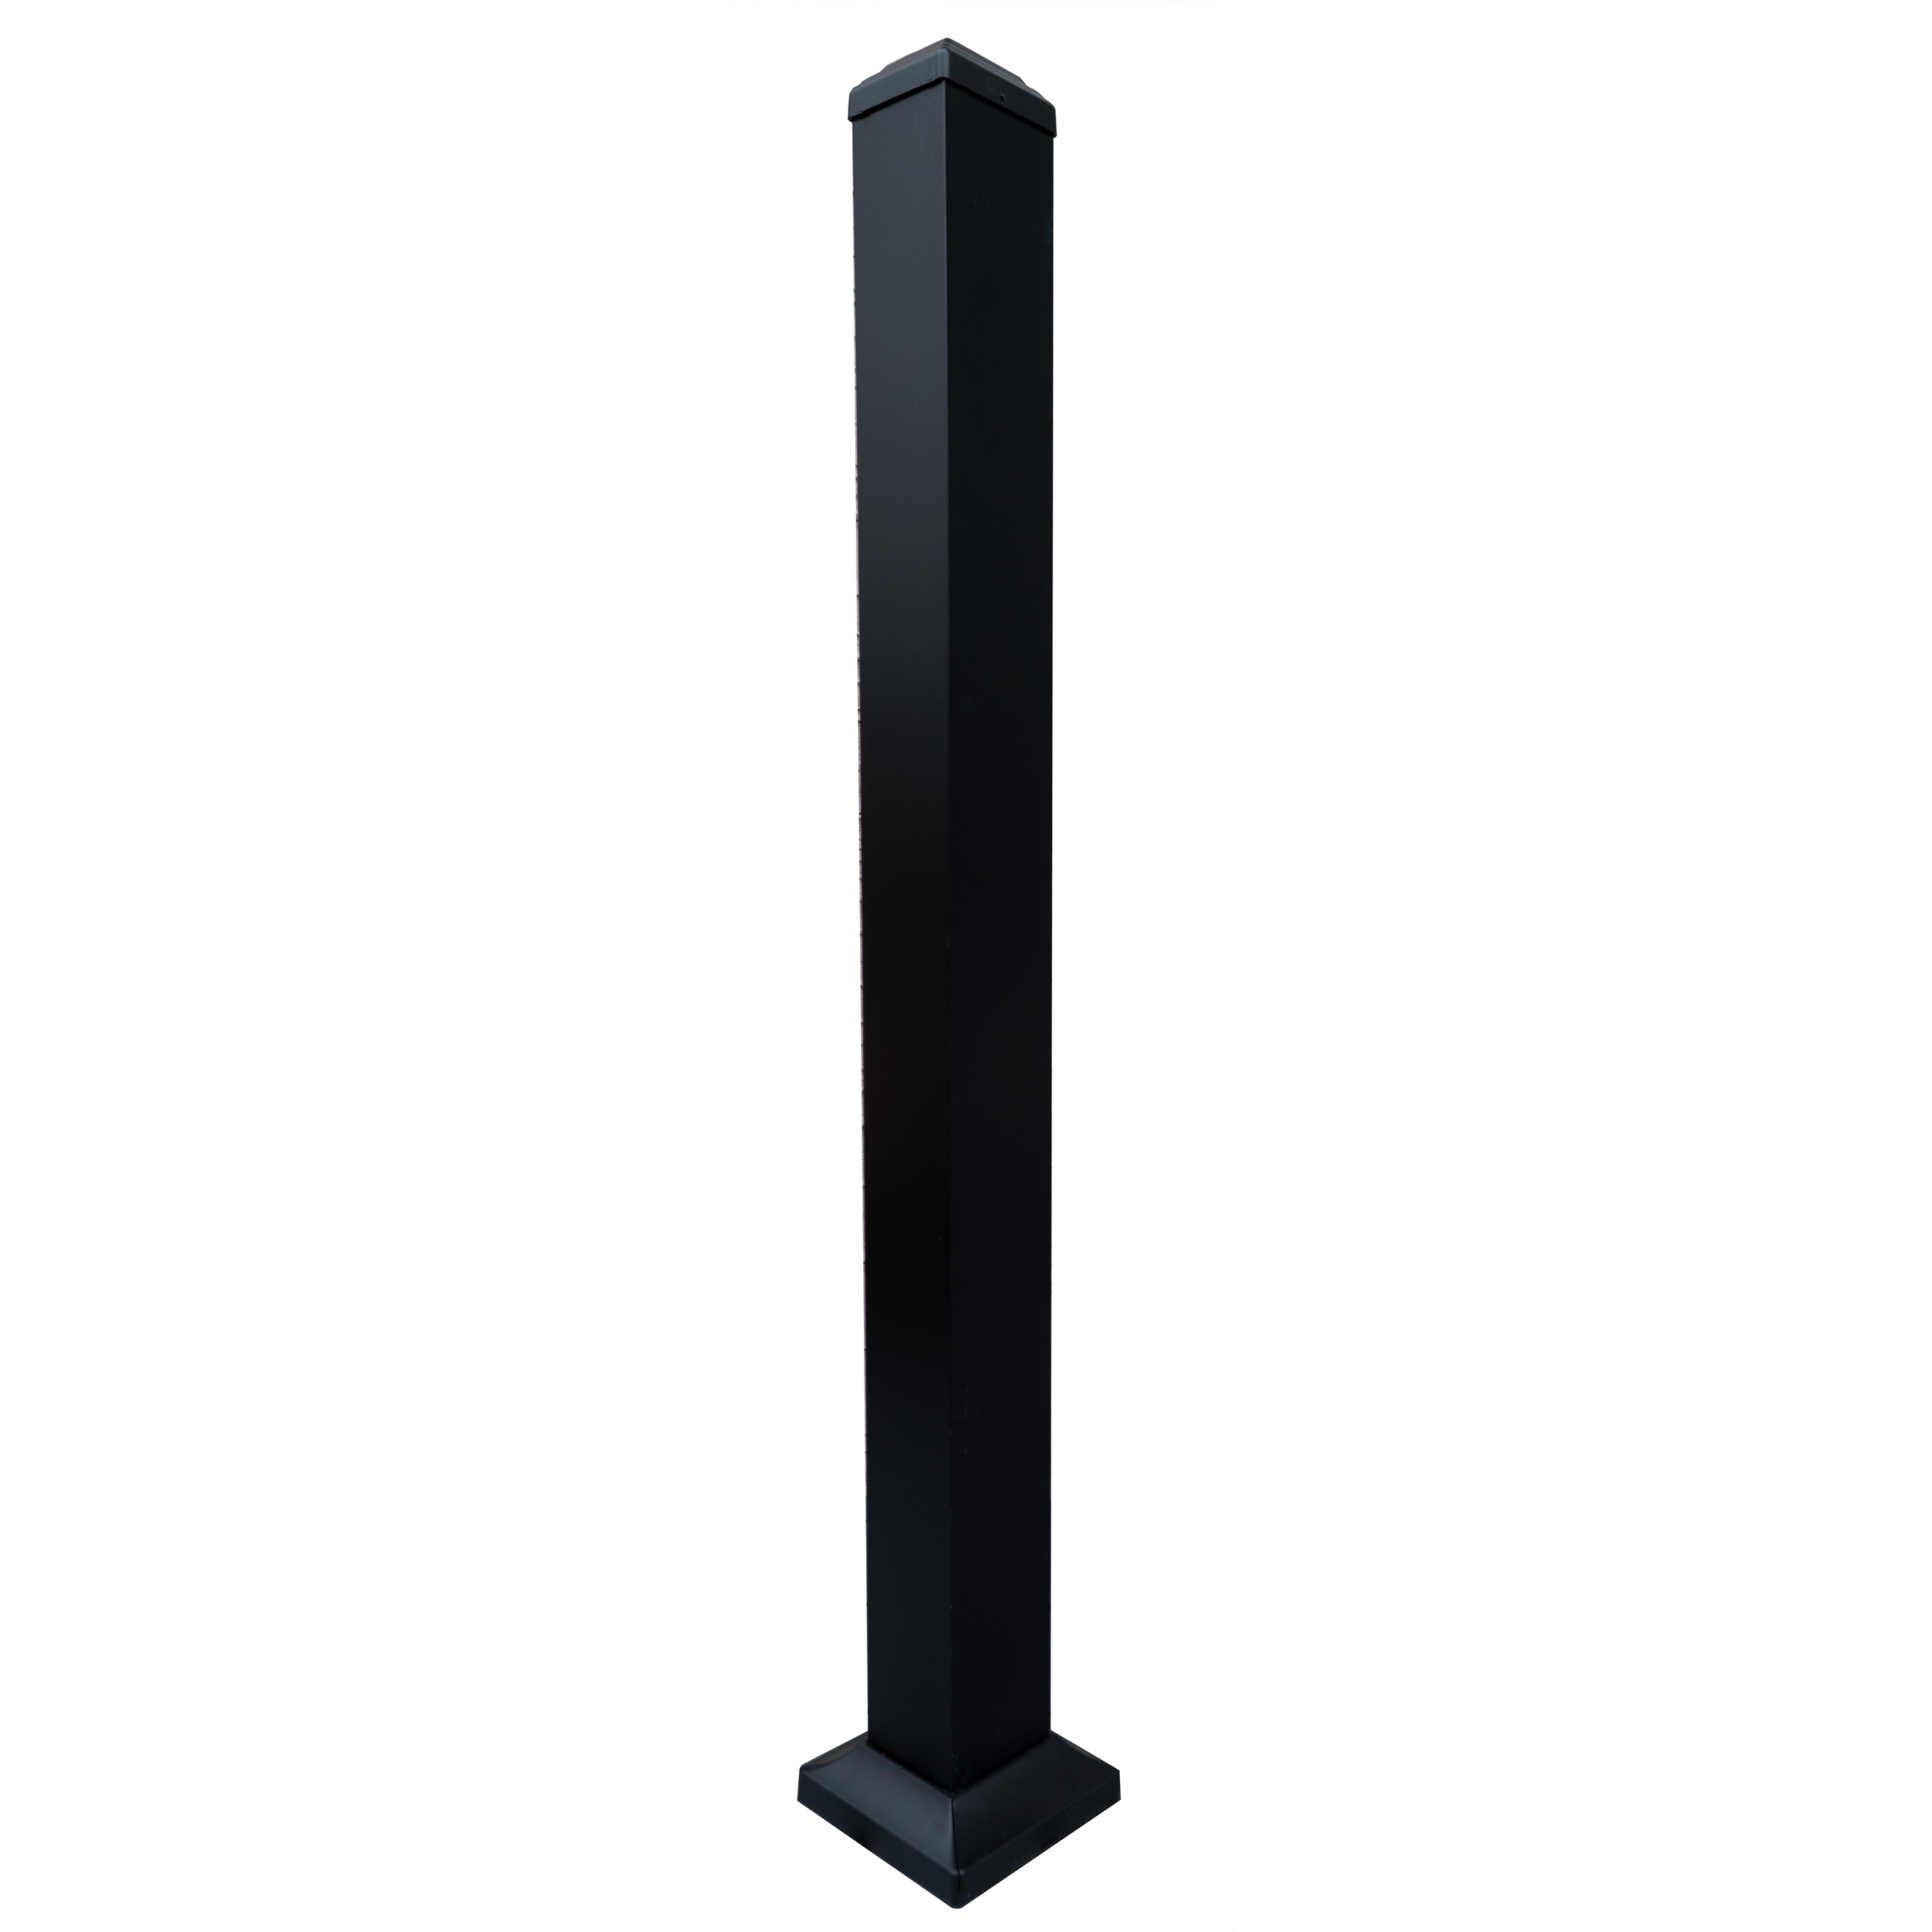
Post Types and Sizes
- End and Corner Posts: 2.36″ x 2.36″ or 3.15″ x 3.15″.
- Mid Posts:
- 1.6″ x 1.6″ for continuous hand rails.
- 2.36″ x 2.36″ or 3.15 x 3.15″ for separated hand rails.
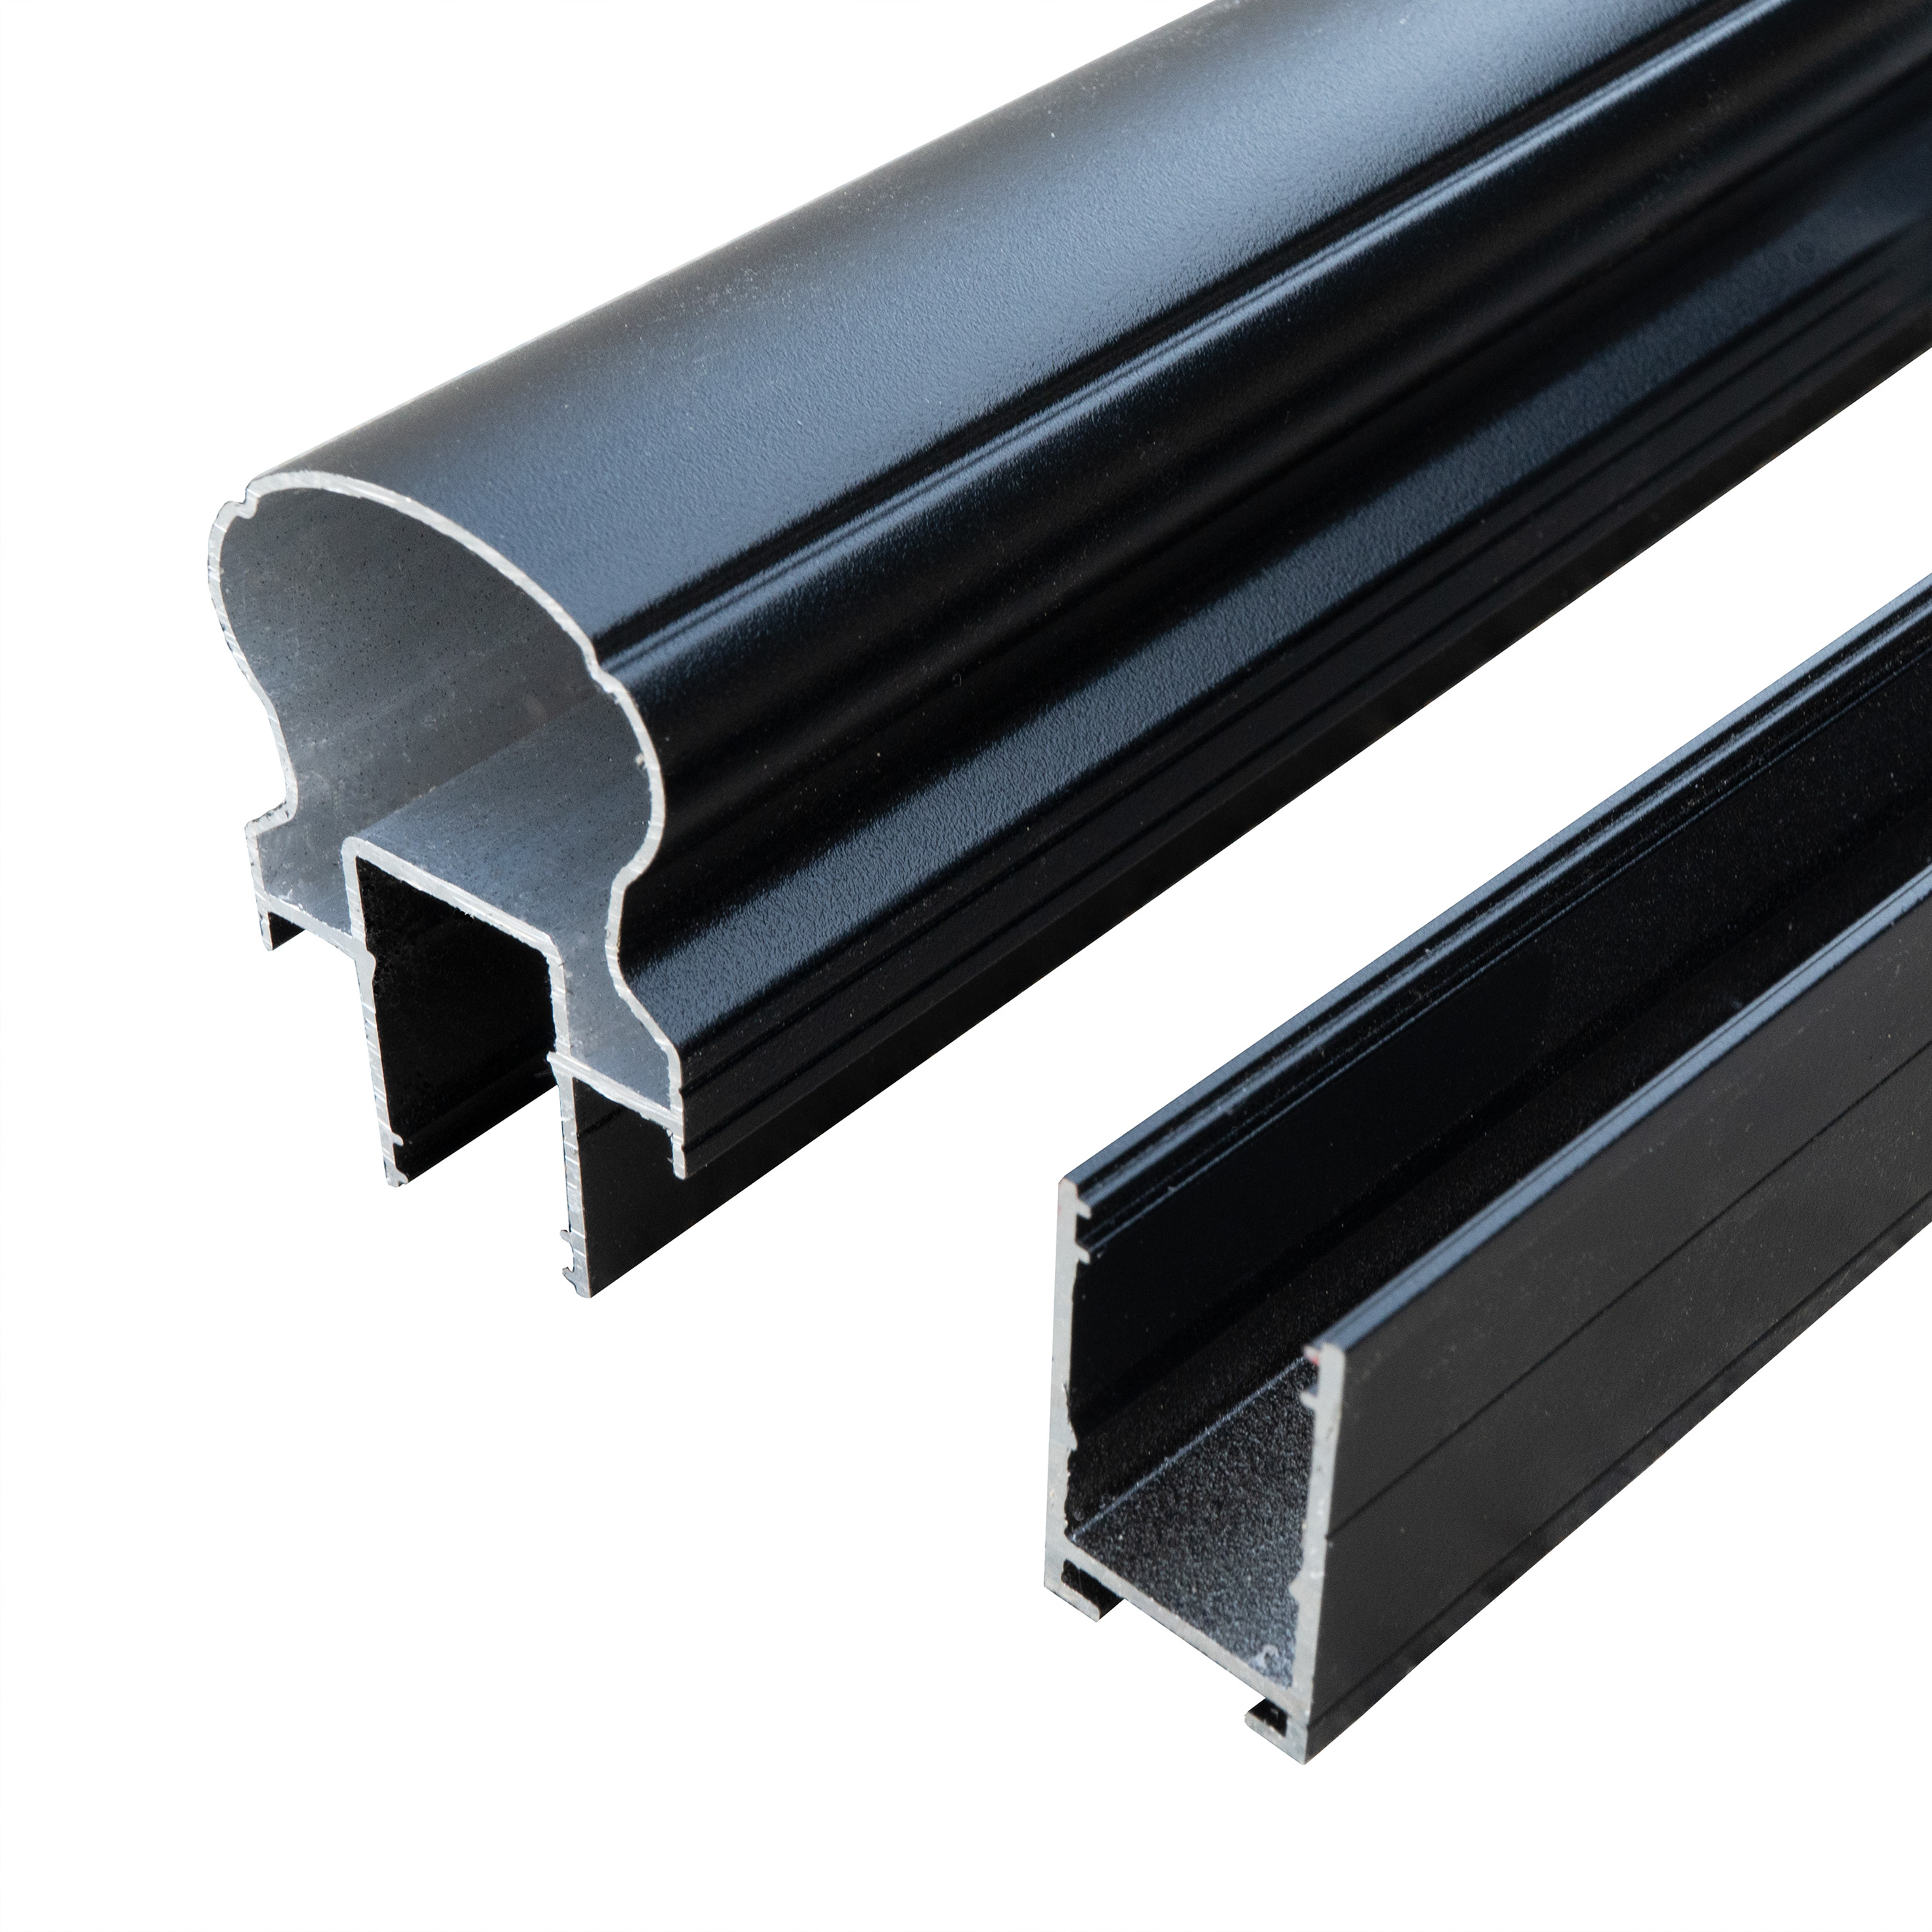
Rail-to-Post Connection Options
- Flat Sections:
- Option 1: Insert hand rail and base rail into brackets attached to posts.
- Option 2: Attach a picket to the post, then secure rails to the picket (no brackets).
- Steps: Only picket-to-post attachment is used.
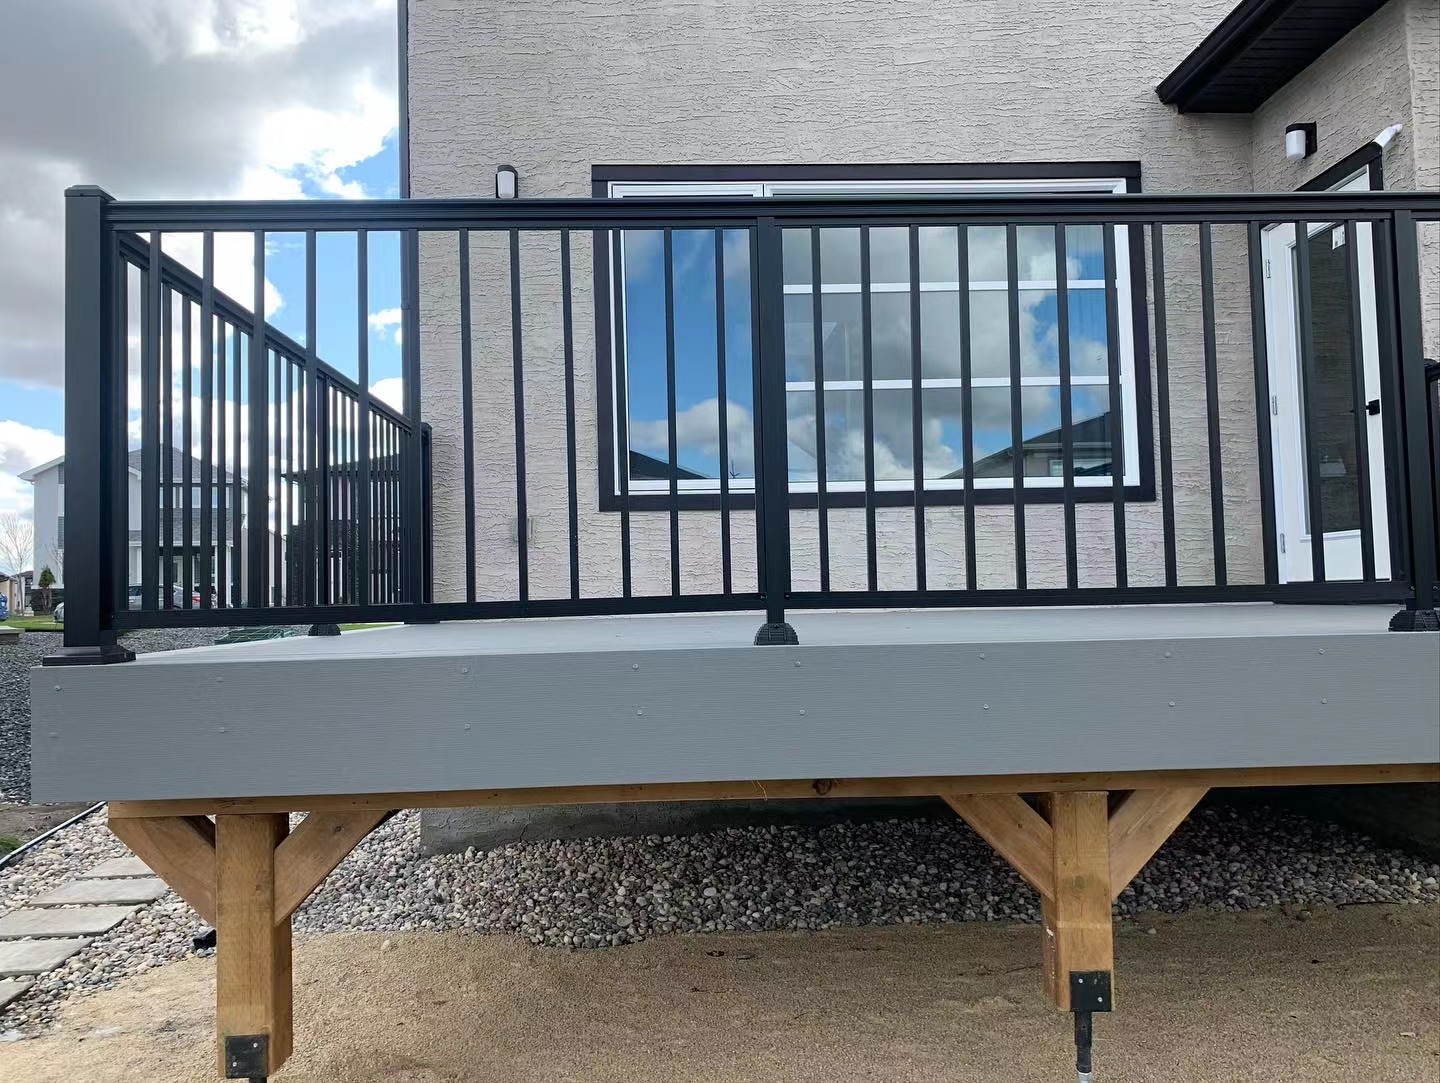
Finish and Options
- Matte finish.
- Heights: 36″ or 42″.
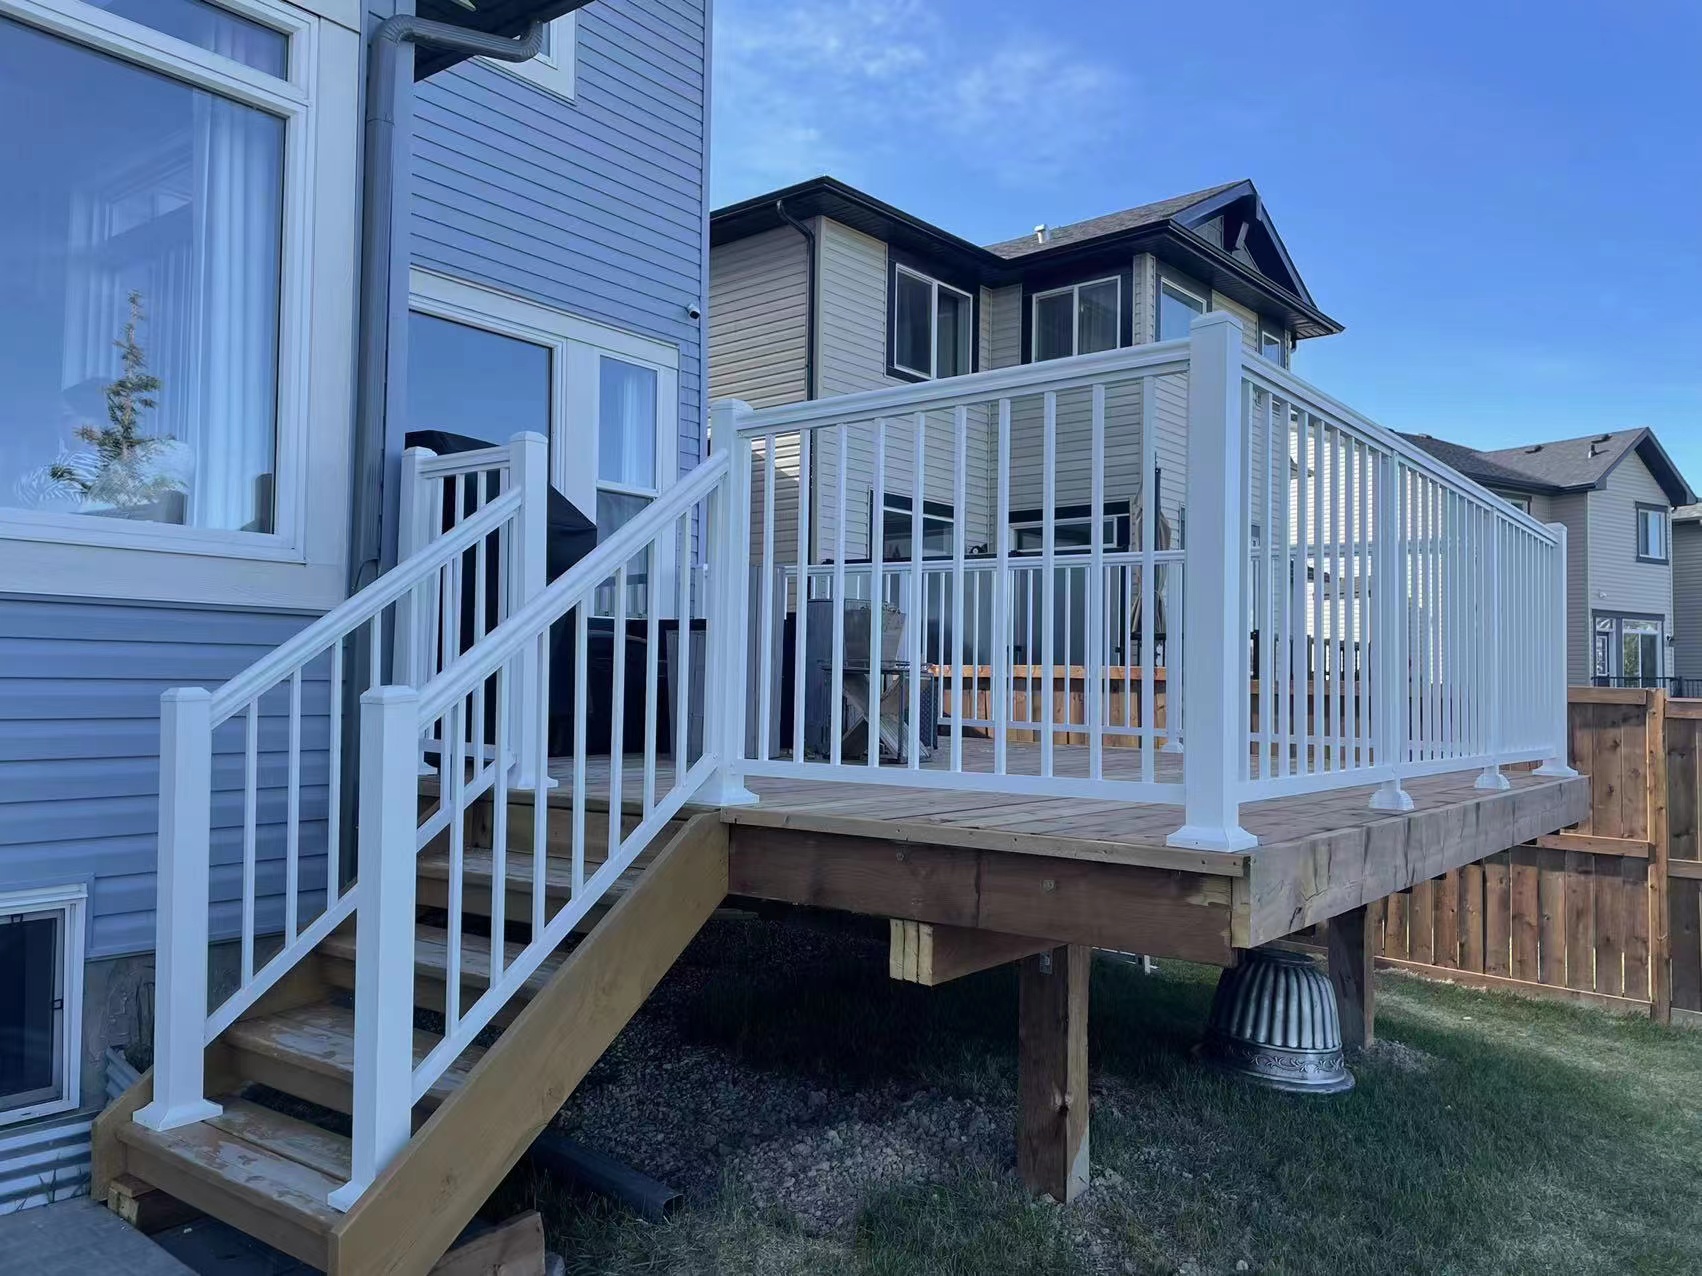
- Colors: Black or White.
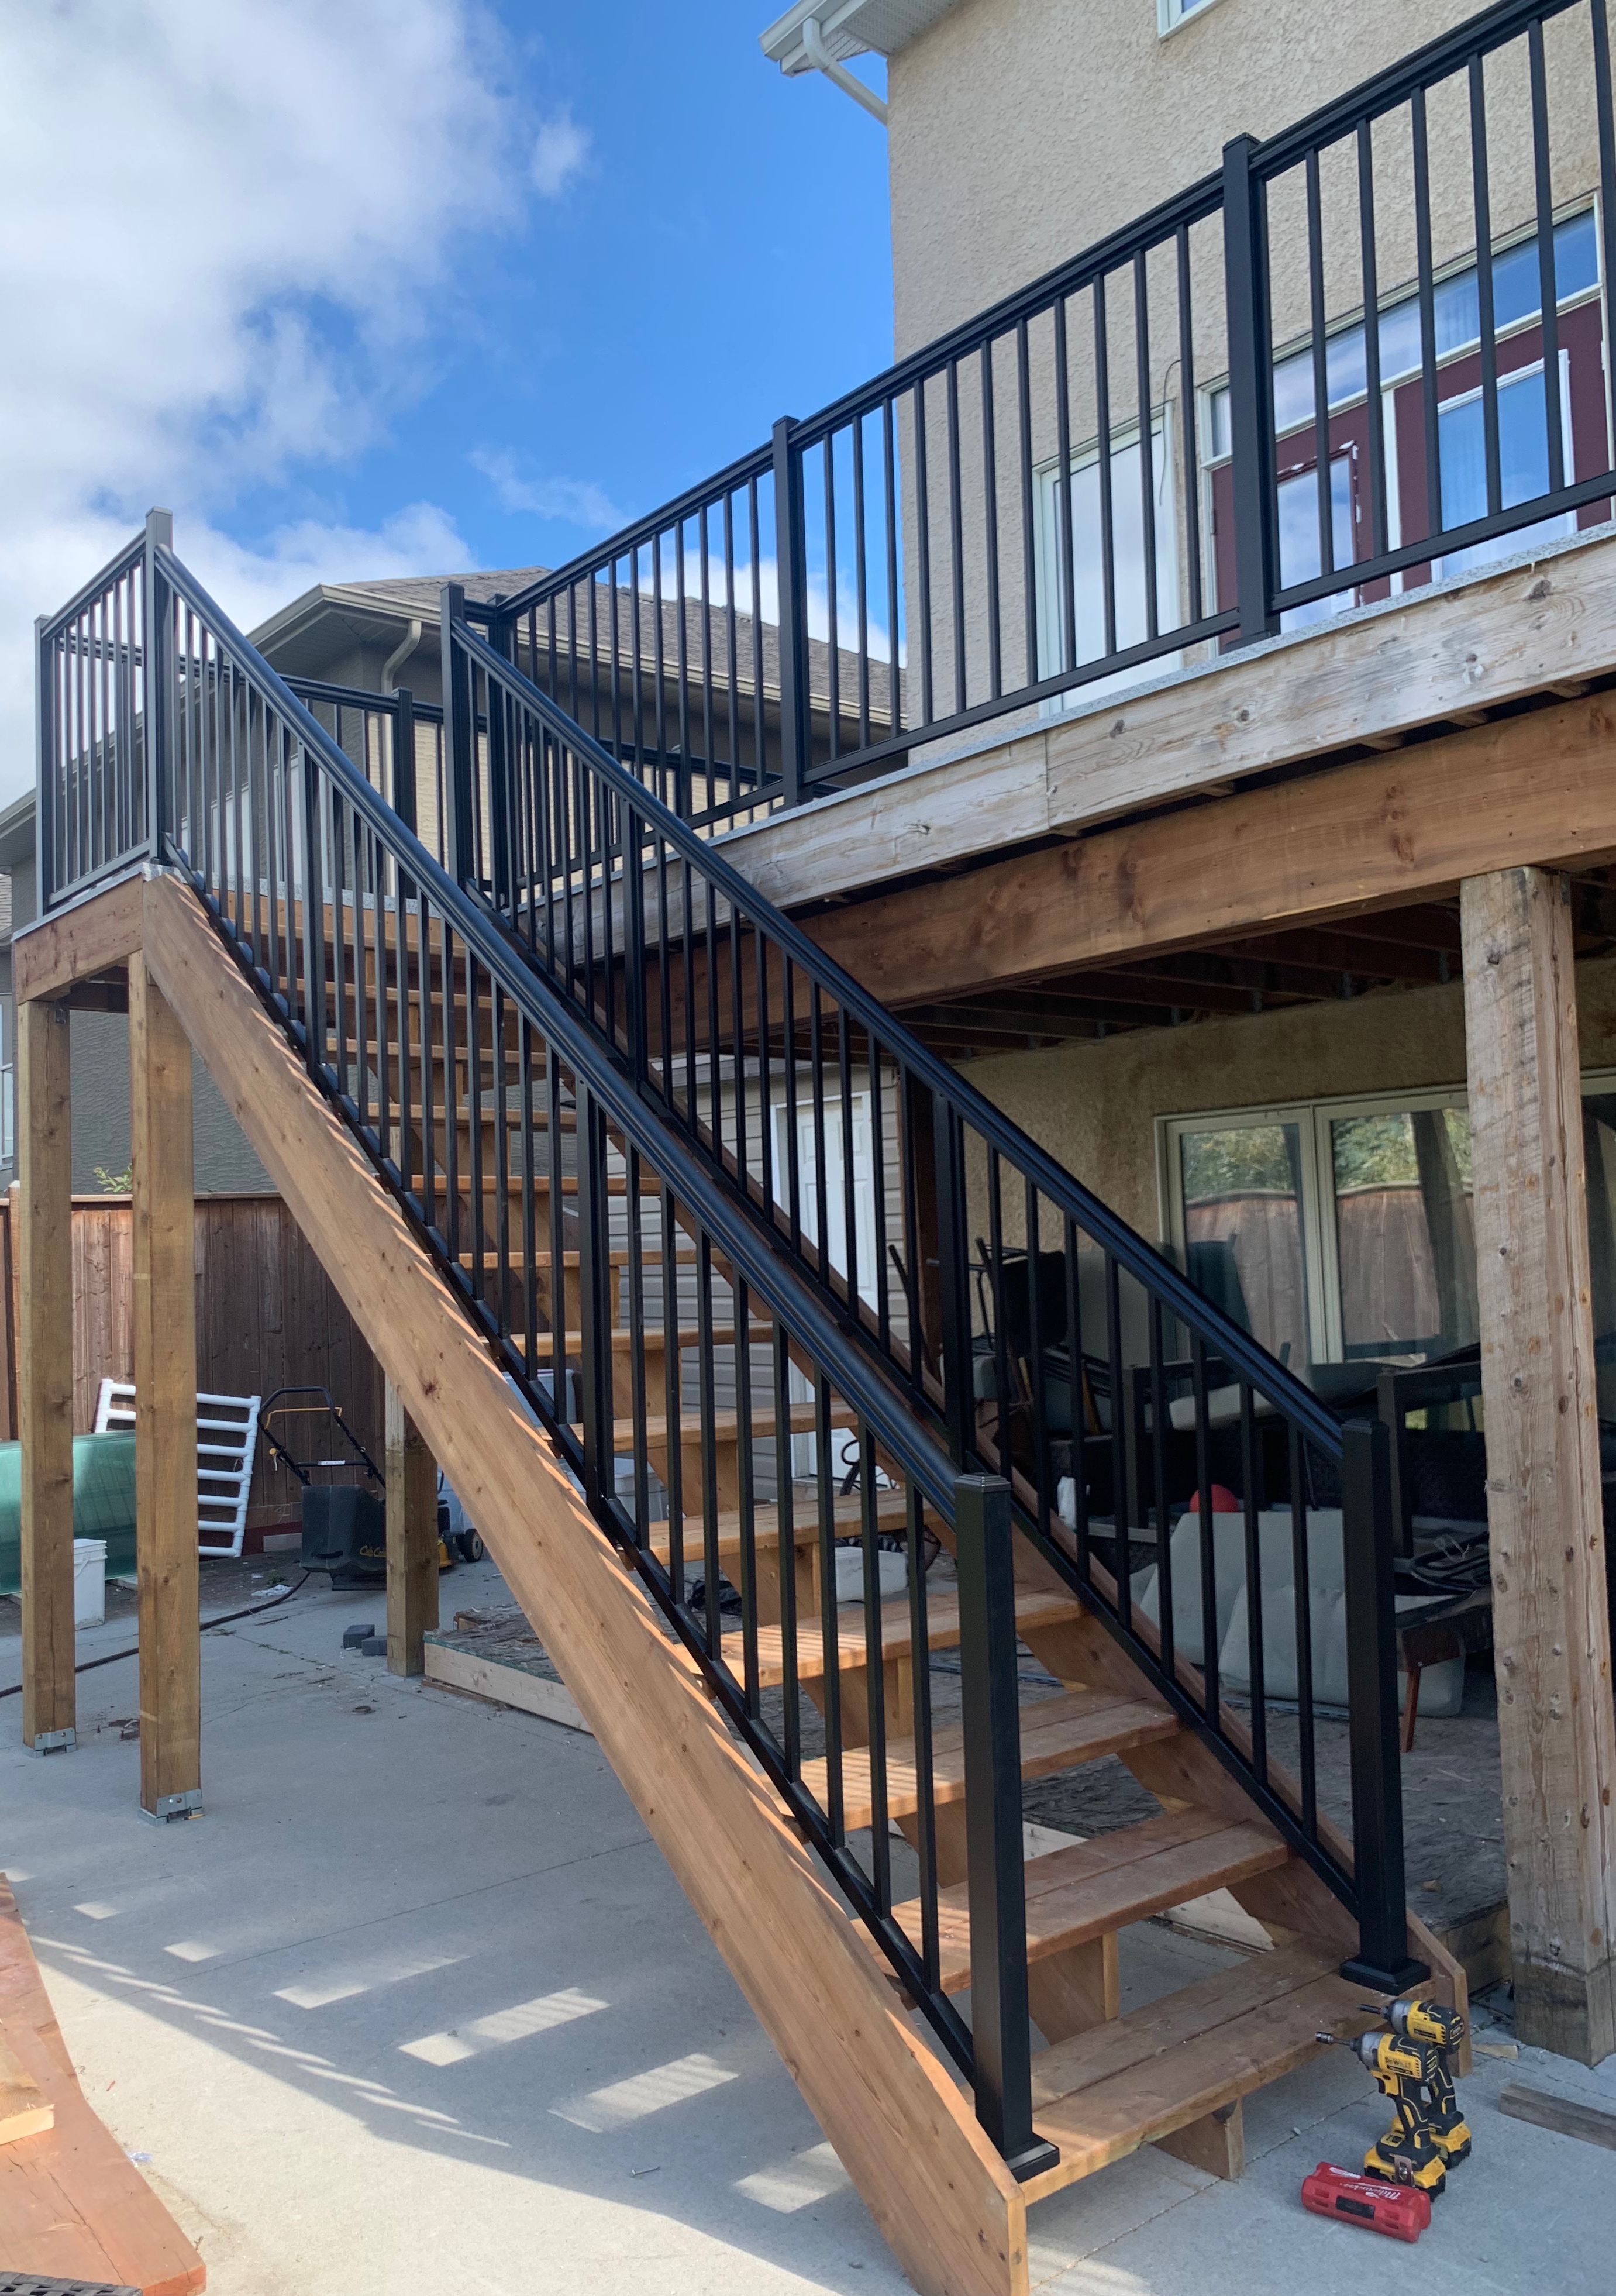
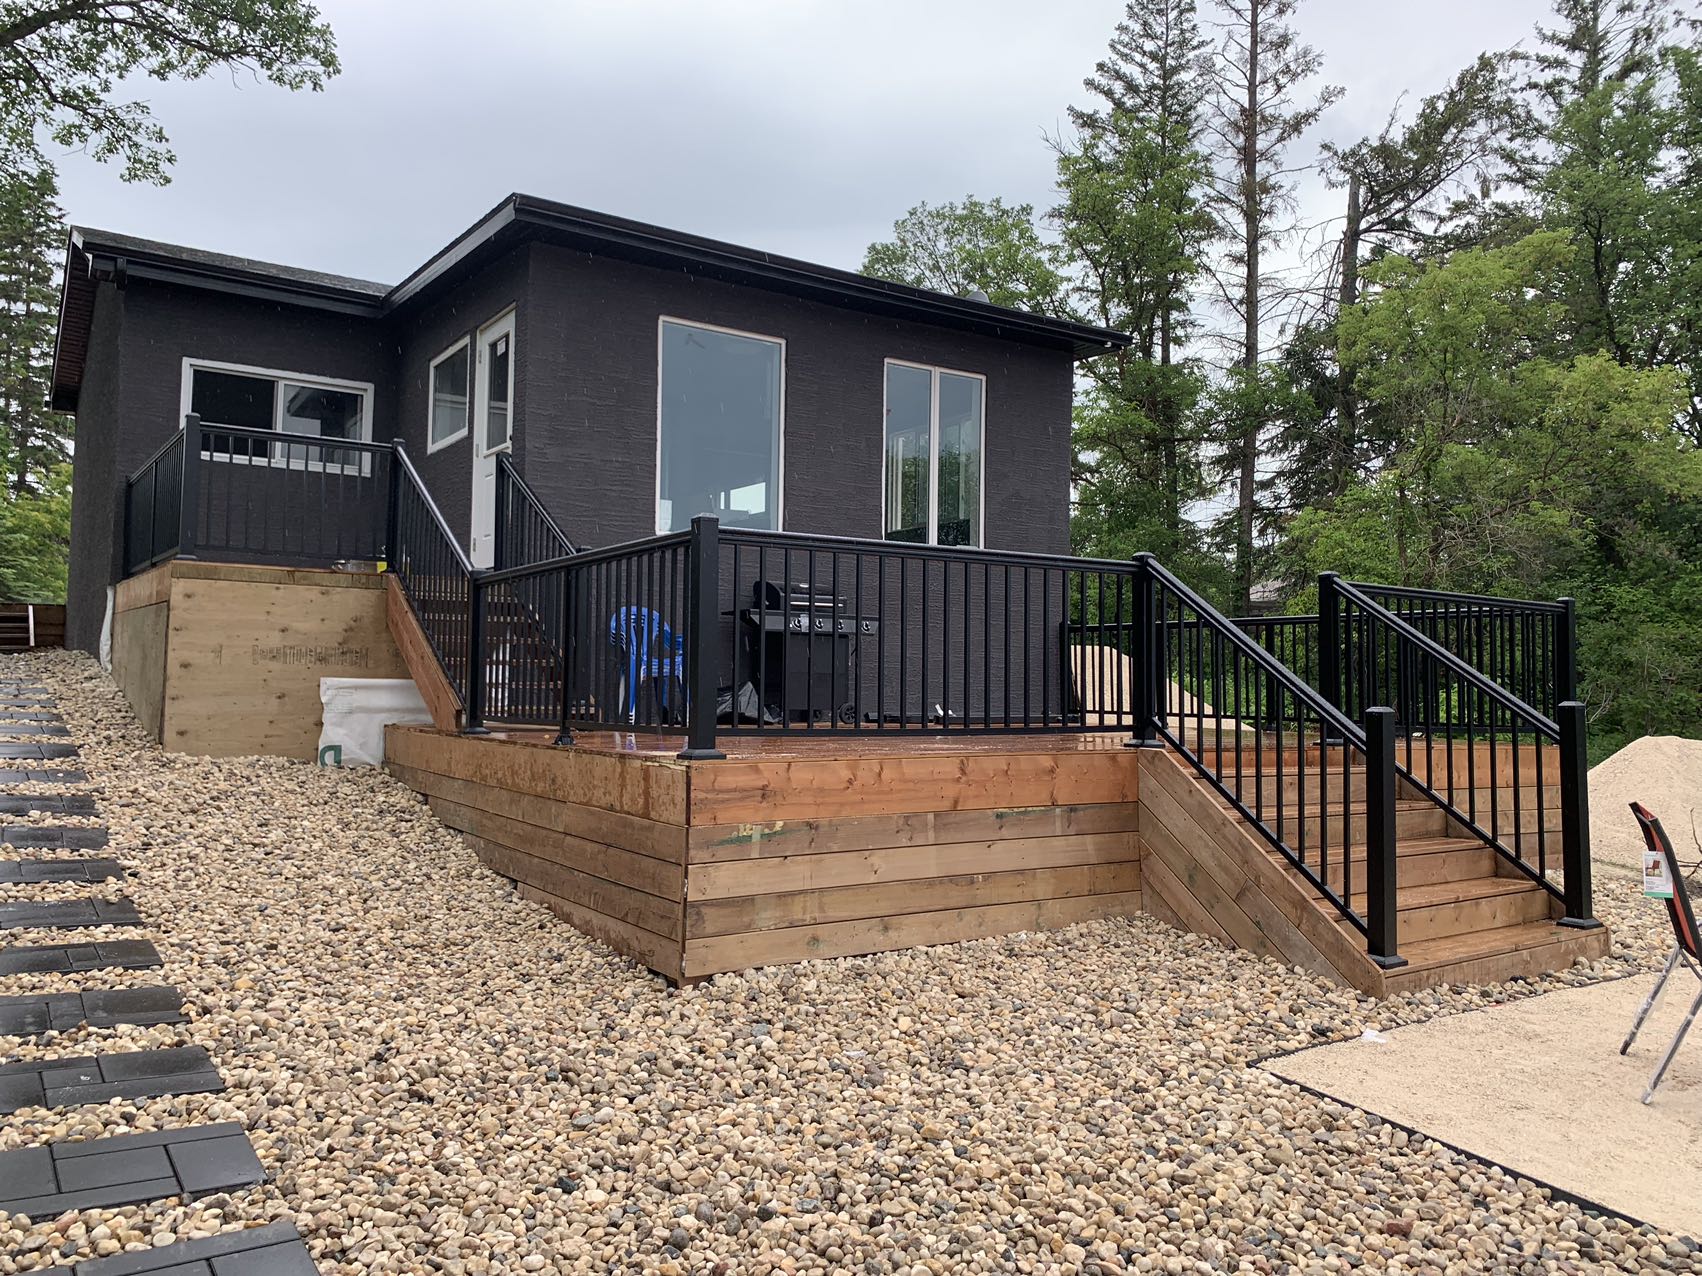
How to install the aluminum picket railings for deck/balcony?
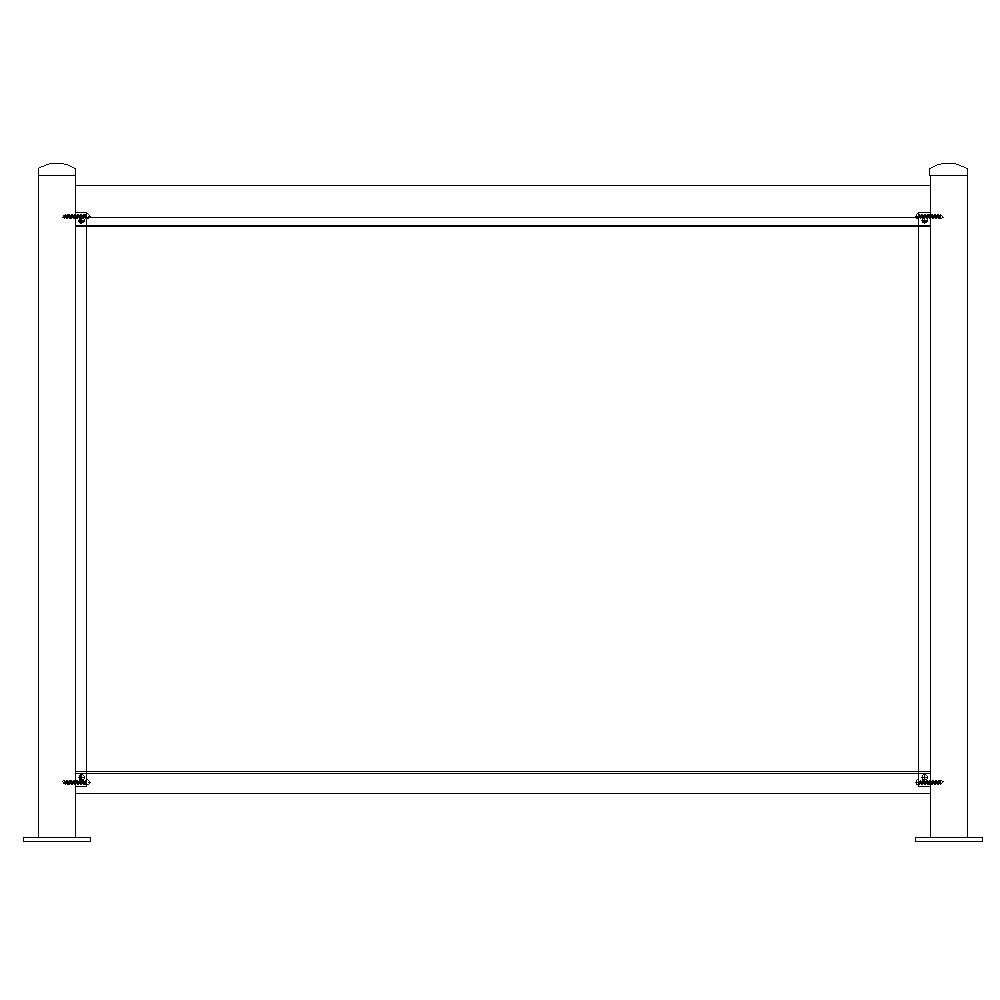
- Install the First Post
- Position the first post in place.
- Secure the base using four lag bolts (for wood surfaces) or expansion bolts (for concrete surfaces).
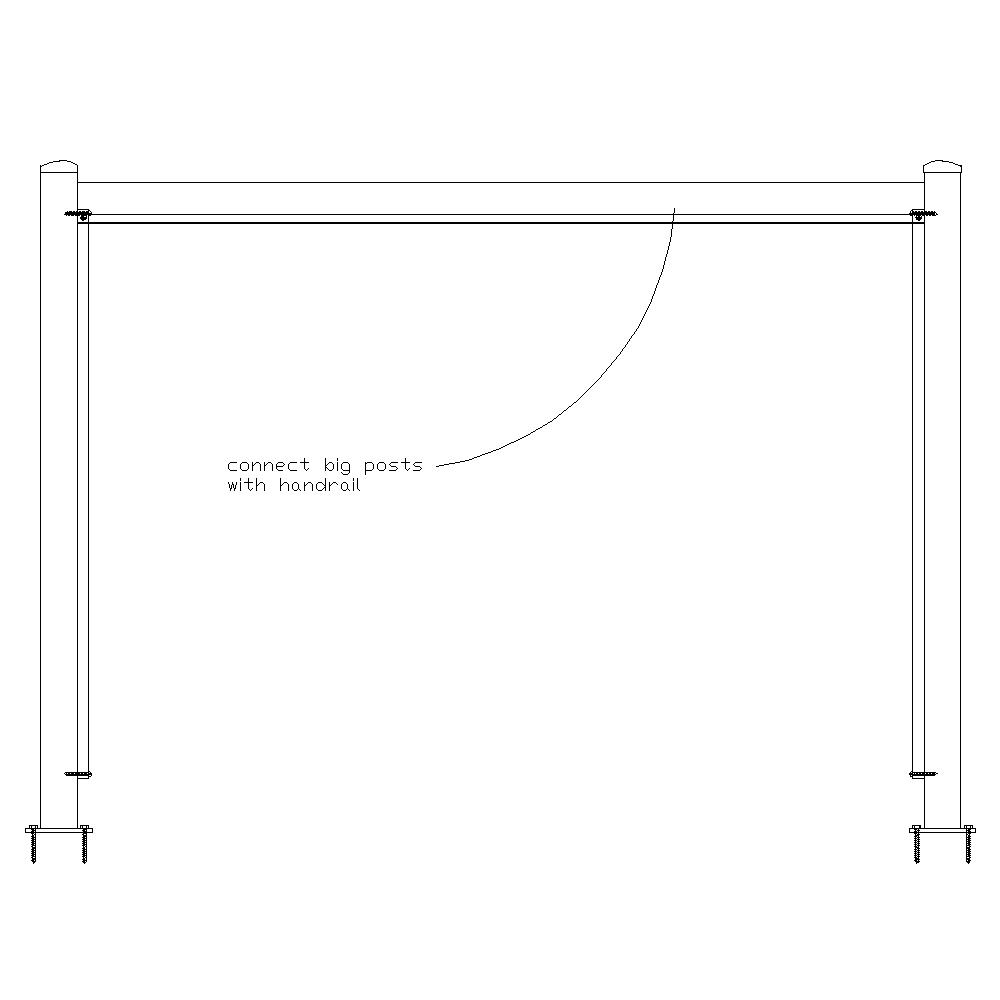
- Cut and Attach the Handrail
- Measure and cut the handrail to fit between the posts.
- Choose one of the following connection methods:
- Option 1: Insert the handrail into brackets attached to the posts, and secure it with screws.
- Option 2: Place the handrail on top of the pickets attached to the posts. Ensure the pickets are fully inserted into the handrail, then secure the handrail with screws.
- Install the Other End Post/Corner Post
- Position the second end post or corner post and secure it in place.
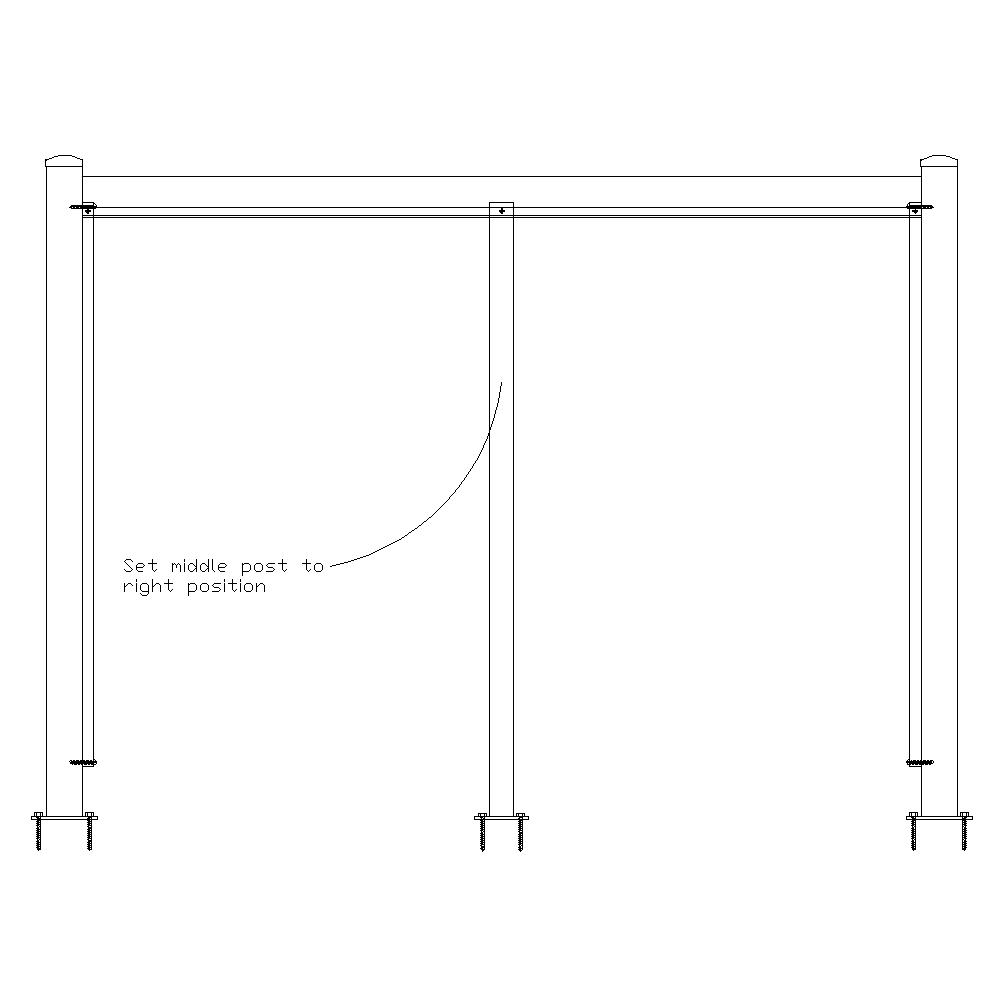
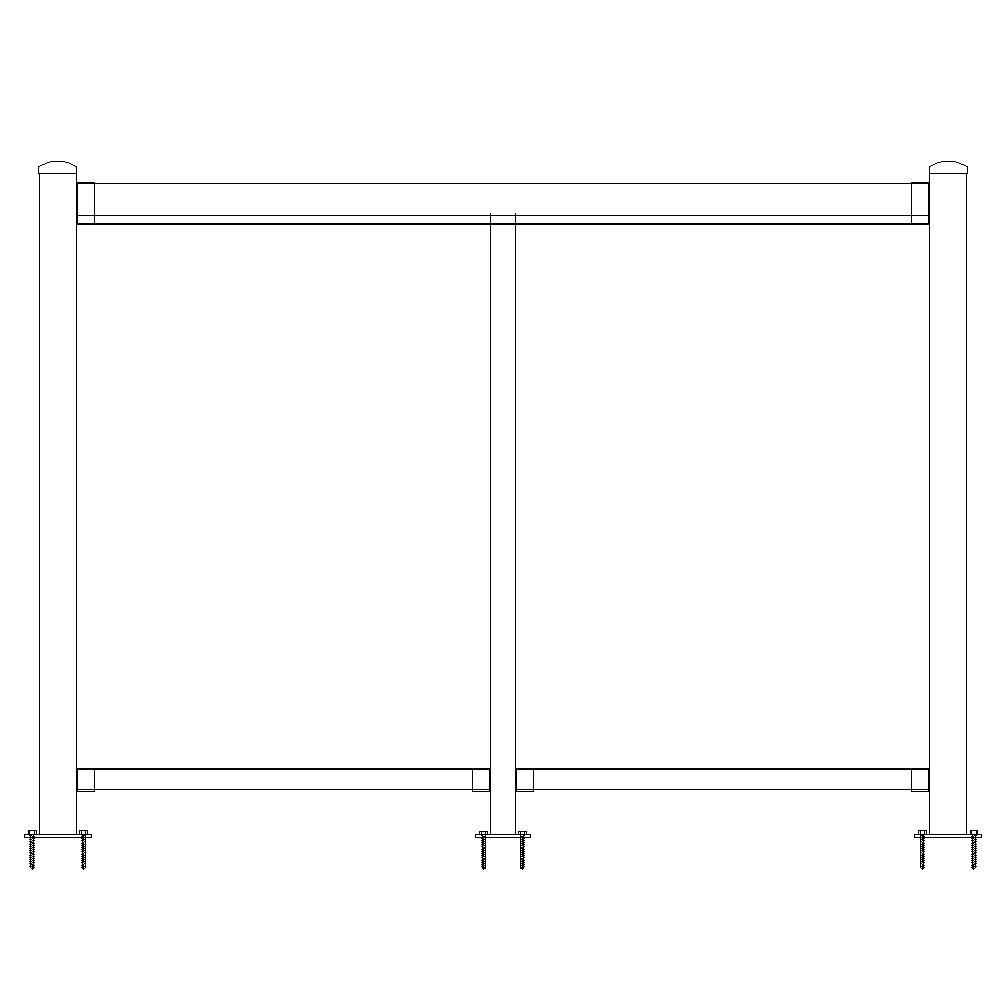
- Install Mid Post (if hand rail is continuous)
- Option 1:
- Insert the small post with brackets attached into the handrail.
- Fasten the post to the handrail using screws.
- Attach the base of the small post to the flooring using four lag bolts.
- Option 2
- Insert the small post into the handrail.
- Fasten the post to the handrail using screws.
- Attach the base of the small post to the flooring using four lag bolts.
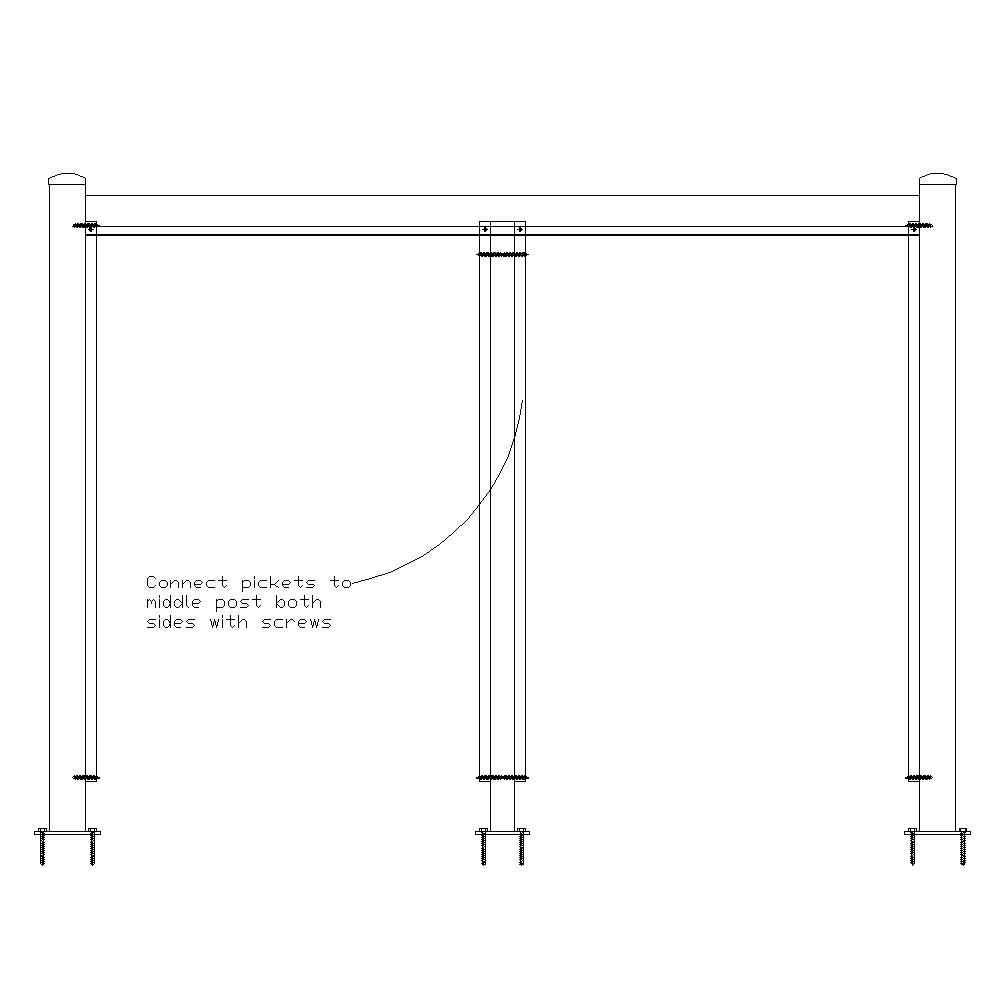
- Secure one picket to each side of the mid post using screws.
- Ensure the pickets are fully inserted into the handrail and aligned with the pickets attached to the larger posts, so they remain level.
- Option 1:

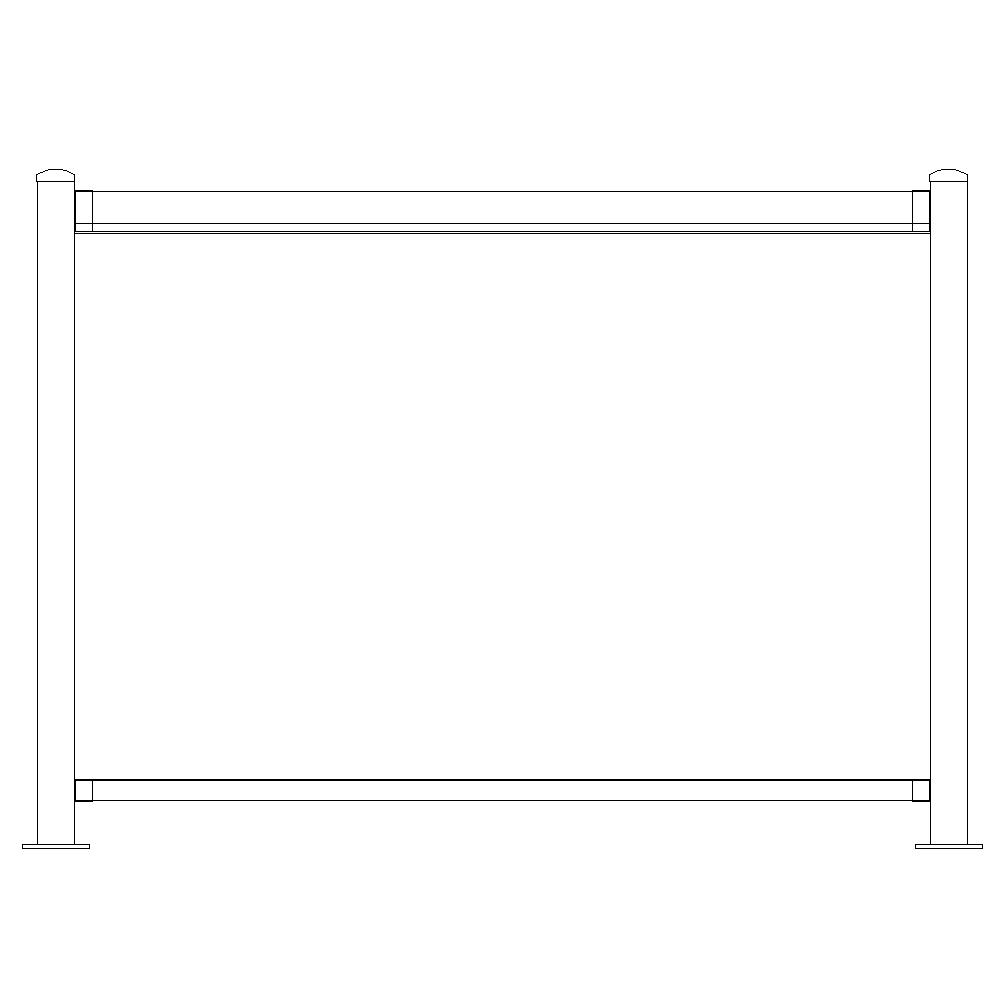
- Cut and Attach the Base Rail
- Measure and cut the handrail to fit between the posts.
- Secure the base rail with screws

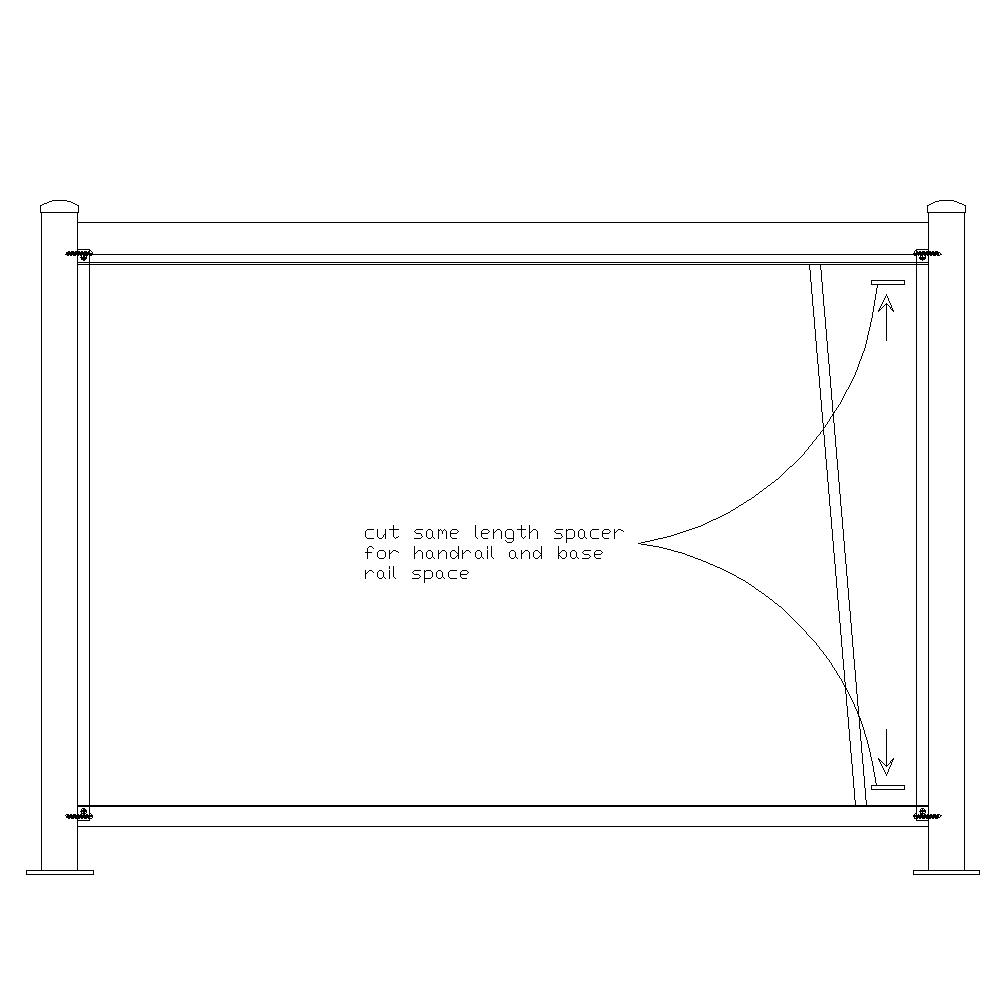
- Install Pickets and Spacers
- Cut and install initial spacers
- Cut two spacers of equal length (less than 4″)—one for the handrail and one for the base rail.
- Install these spacers at one end of the panel.
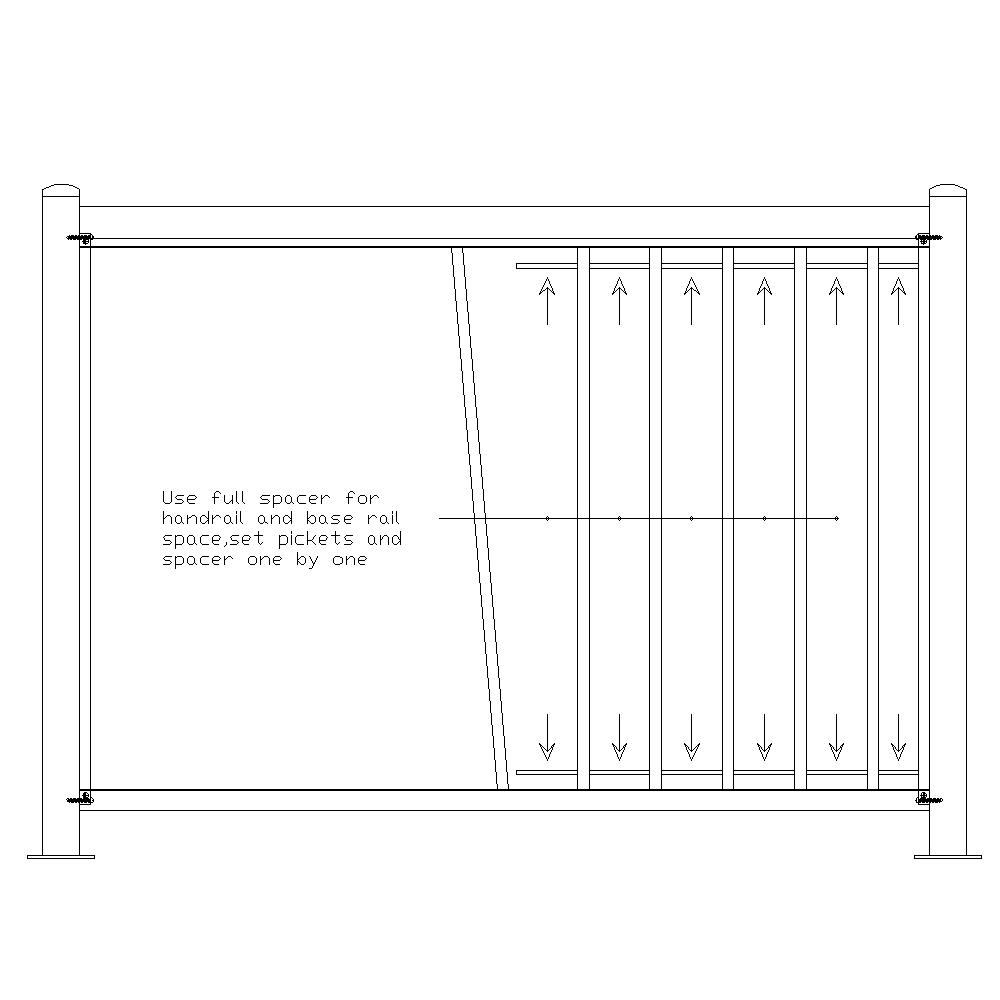
- Install the first picket
- Place a picket into the bottom rail and ensure it is plumb.
- Insert a full-size pre-cut spacer (3 7/8″) into the handrail and base rail to position the picket correctly.
- Add remaining pickets
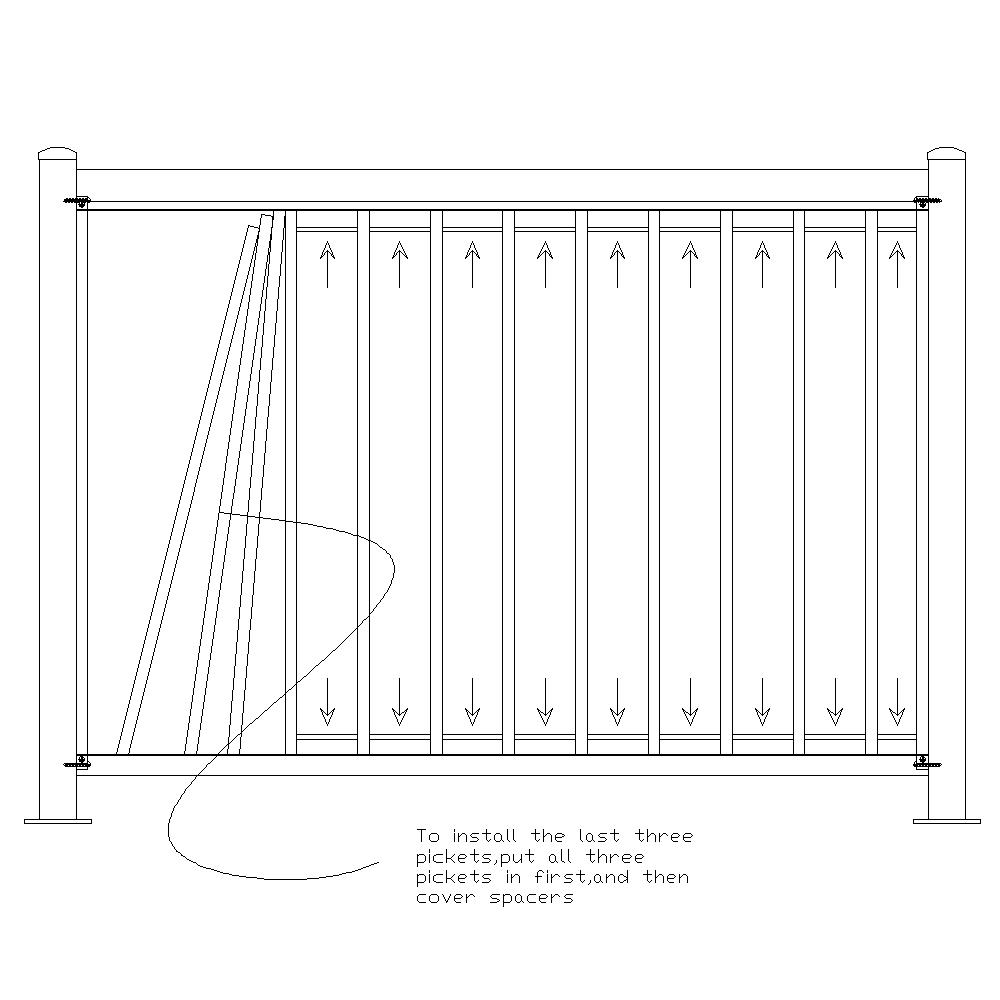
- Repeat the process, continuing to add pickets and spacers, until there are four empty spaces left.
- Insert the remaining four pickets as a group. Spread them evenly, and secure them with spacers.
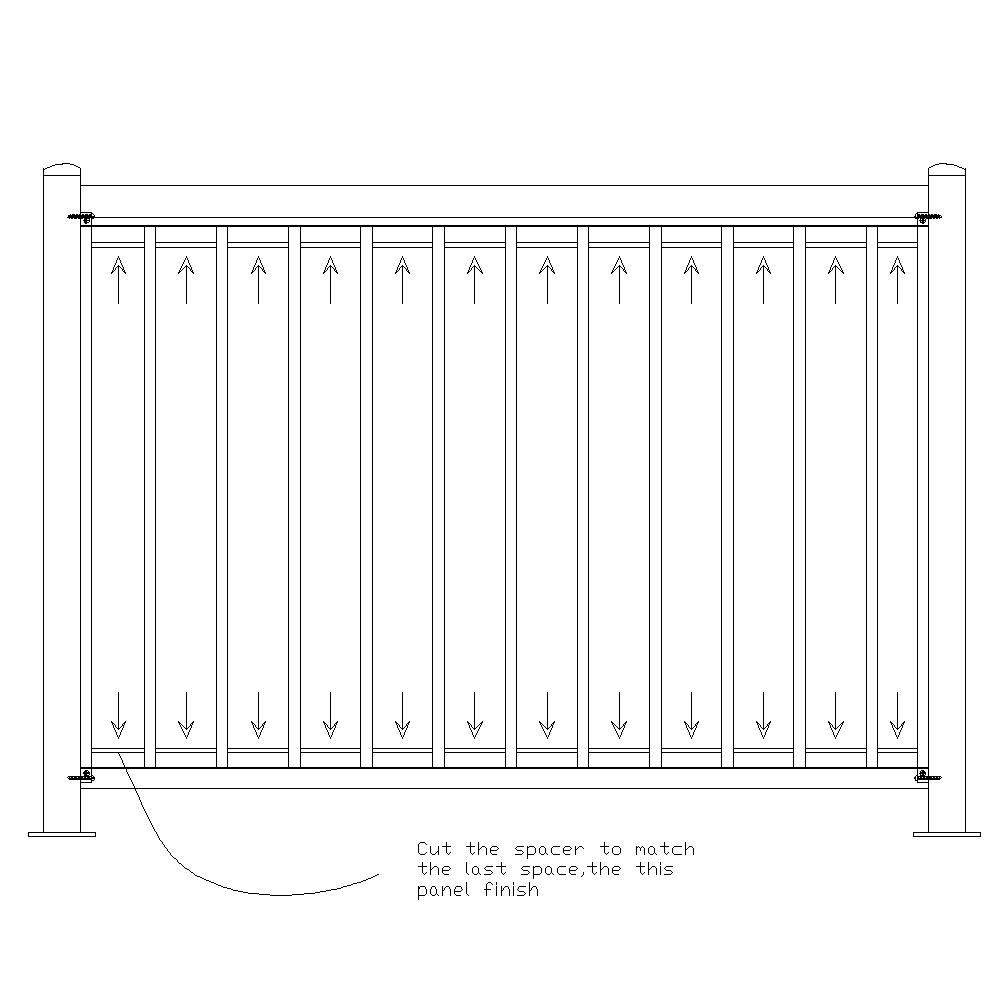
- Cut and install final spacers
- Measure and cut the last two spacers to fit the remaining spaces.
- Install the final spacers to complete the panel.
- Cut and install initial spacers
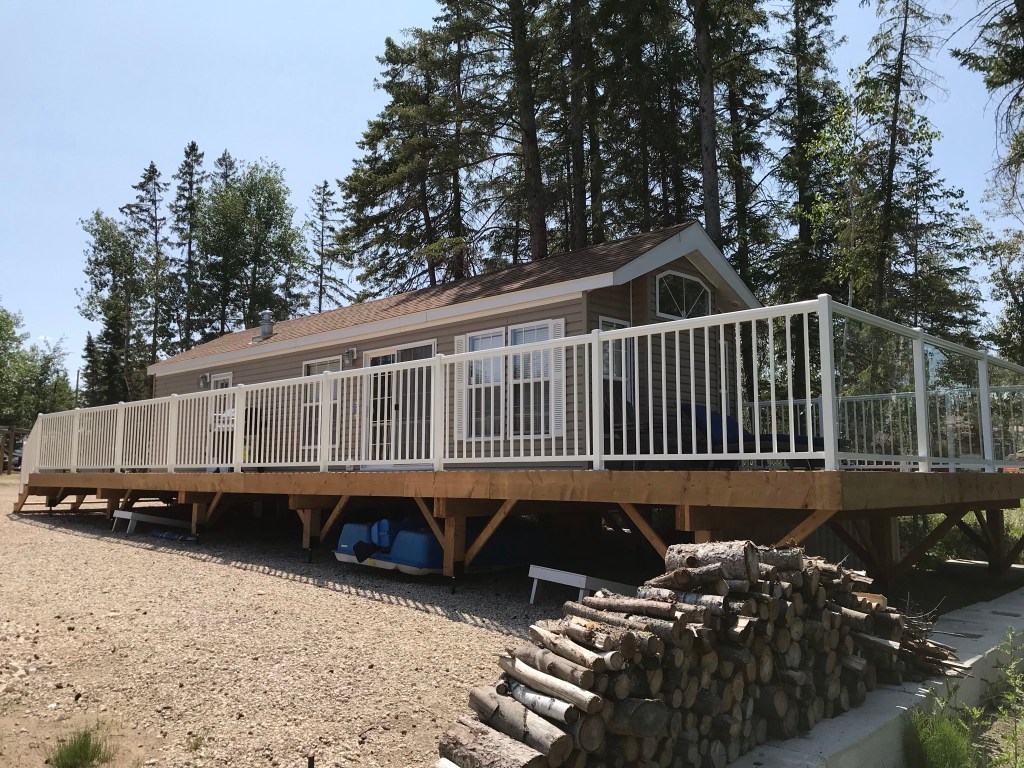
Transforming Homes and Businesses with Aluminum Railings That Combine Durability, Beauty, and Functionality.
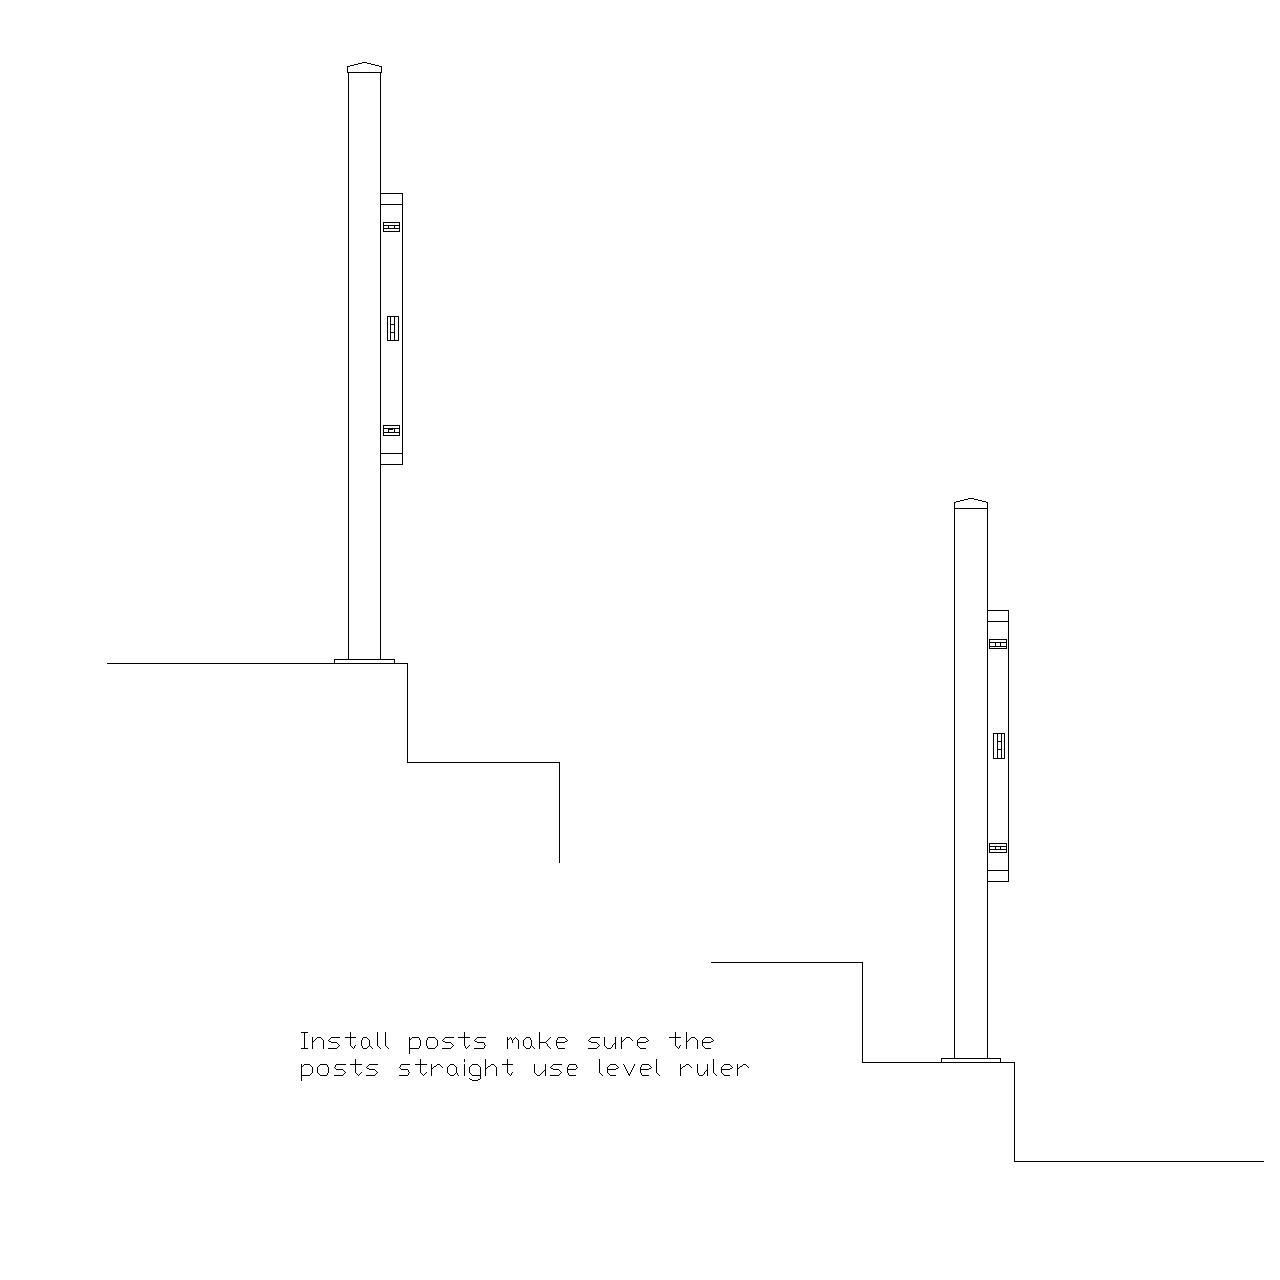
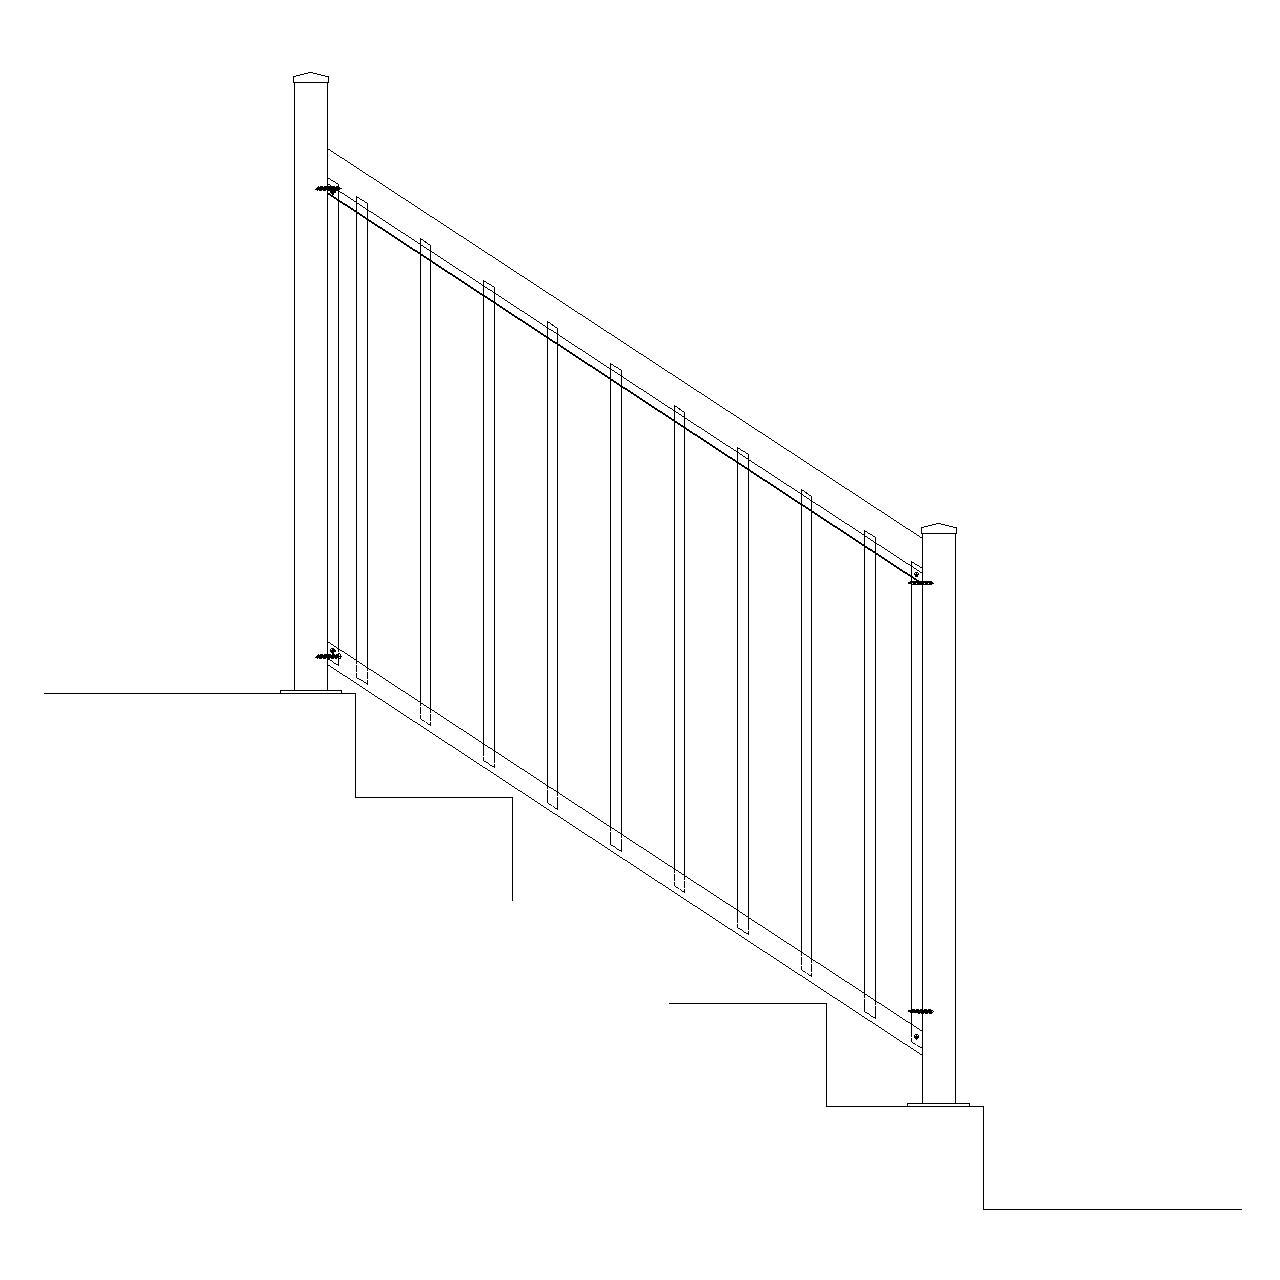
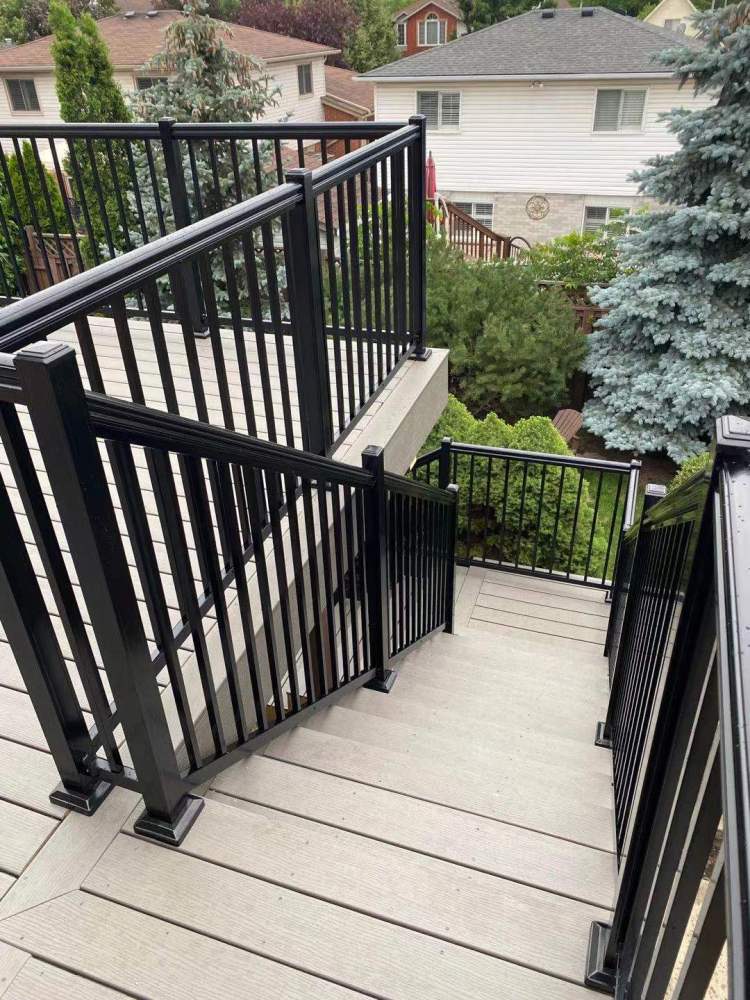
How to install the aluminum picket railings for steps?
- Install the End Posts
- Position the two end posts at the desired locations and ensure they are plumb and secure.
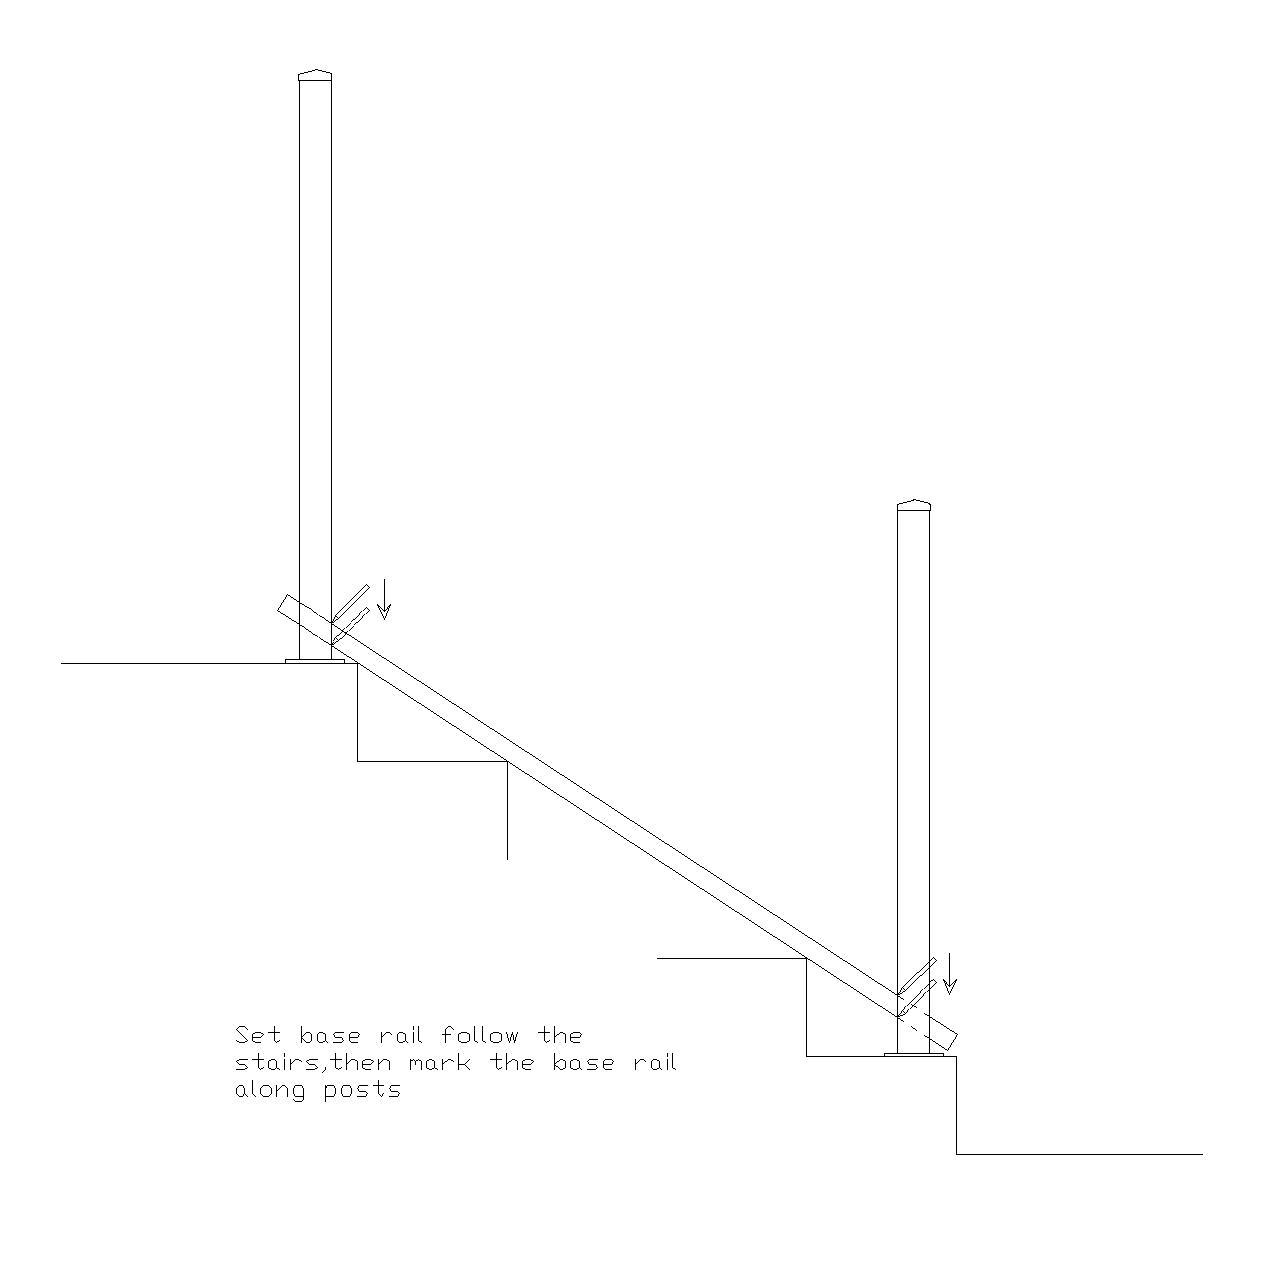
- Mark the Base Rail
- Place the base rail between the two posts in its intended position.
- Mark the cutting lines on the base rail for a precise fit.
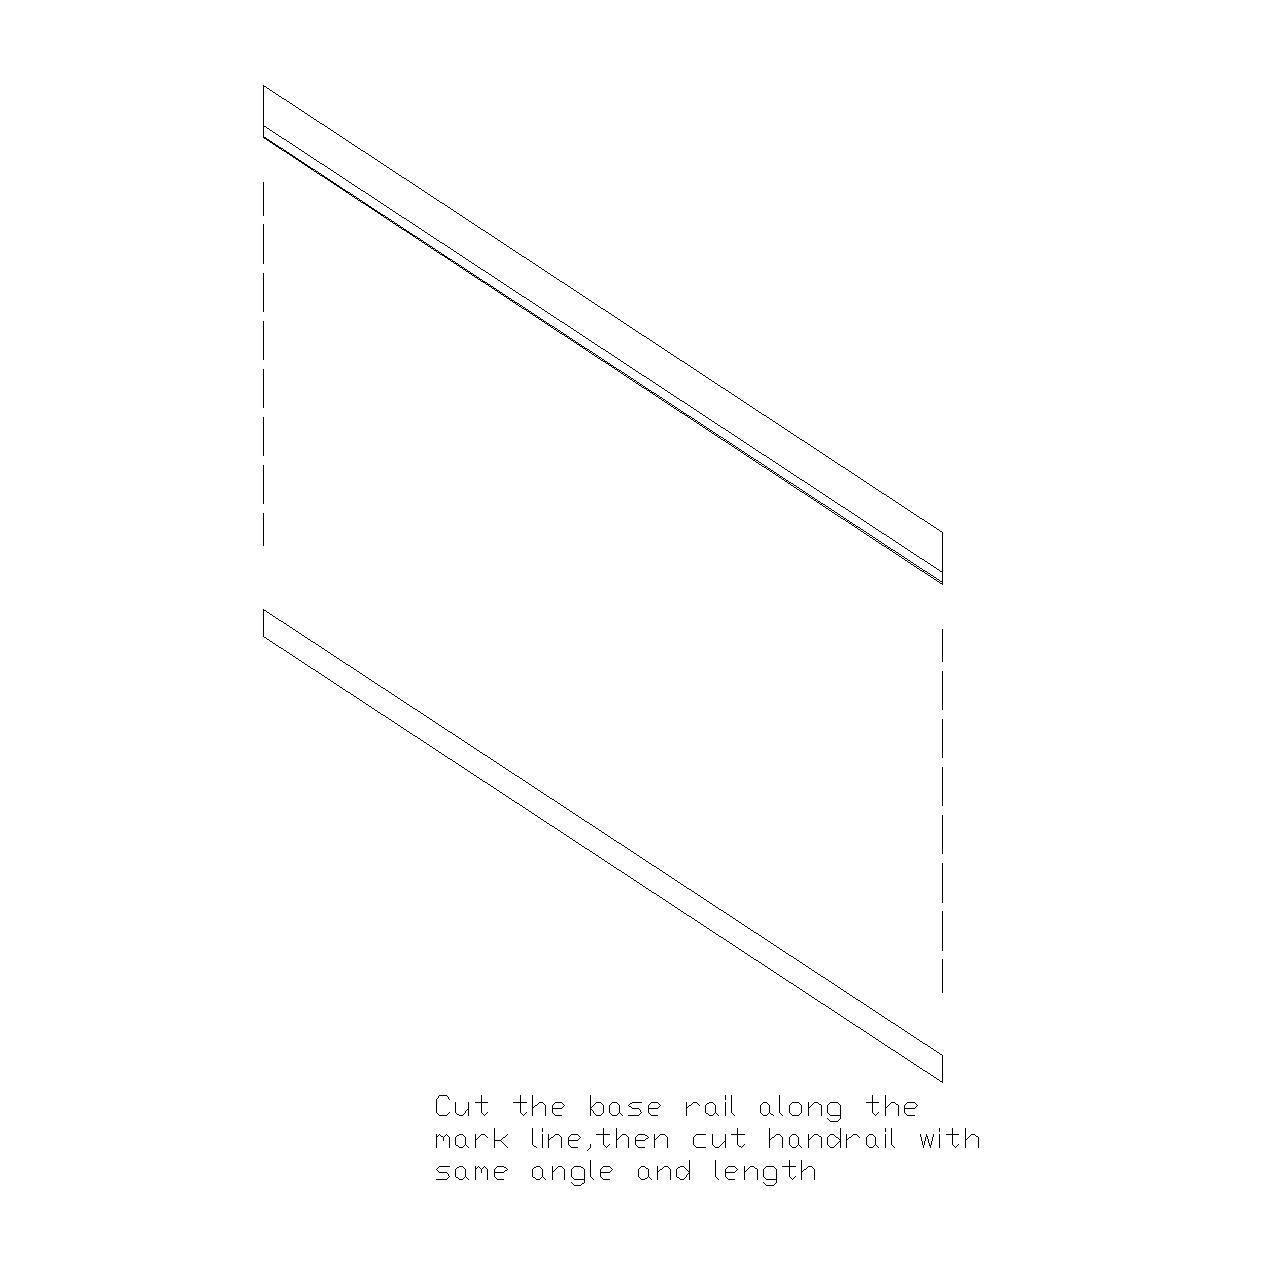
- Cut the Rails
- Cut the base rail along the marked lines.
- Use the same measurements and angles to cut the handrail.
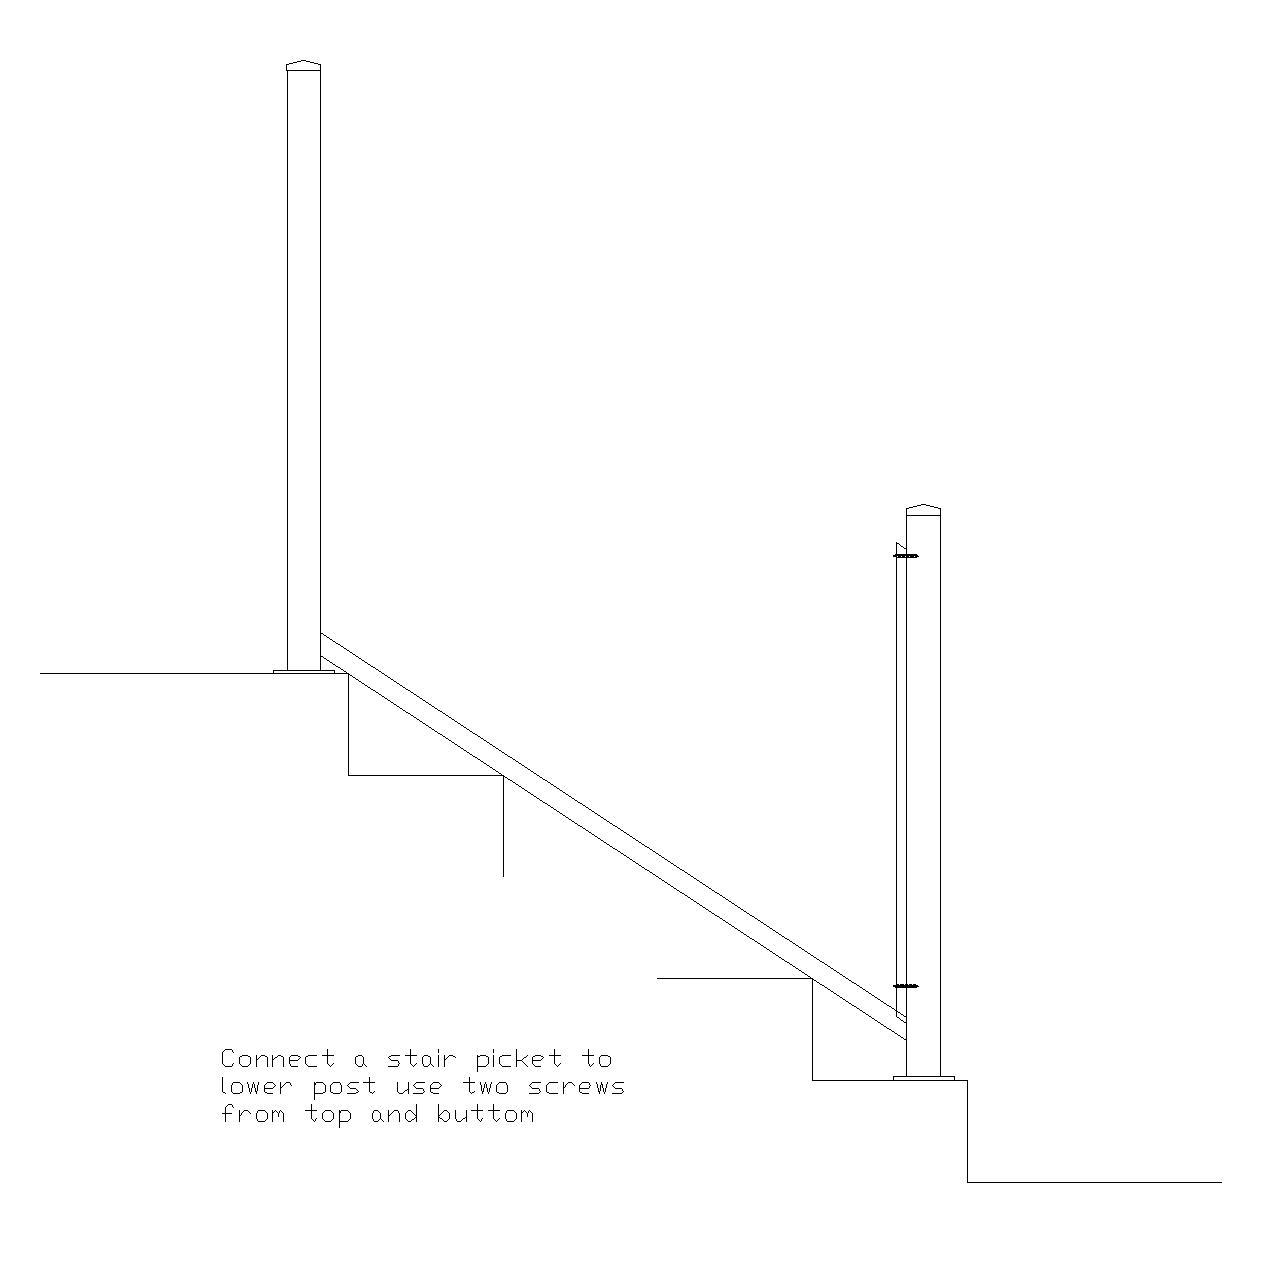
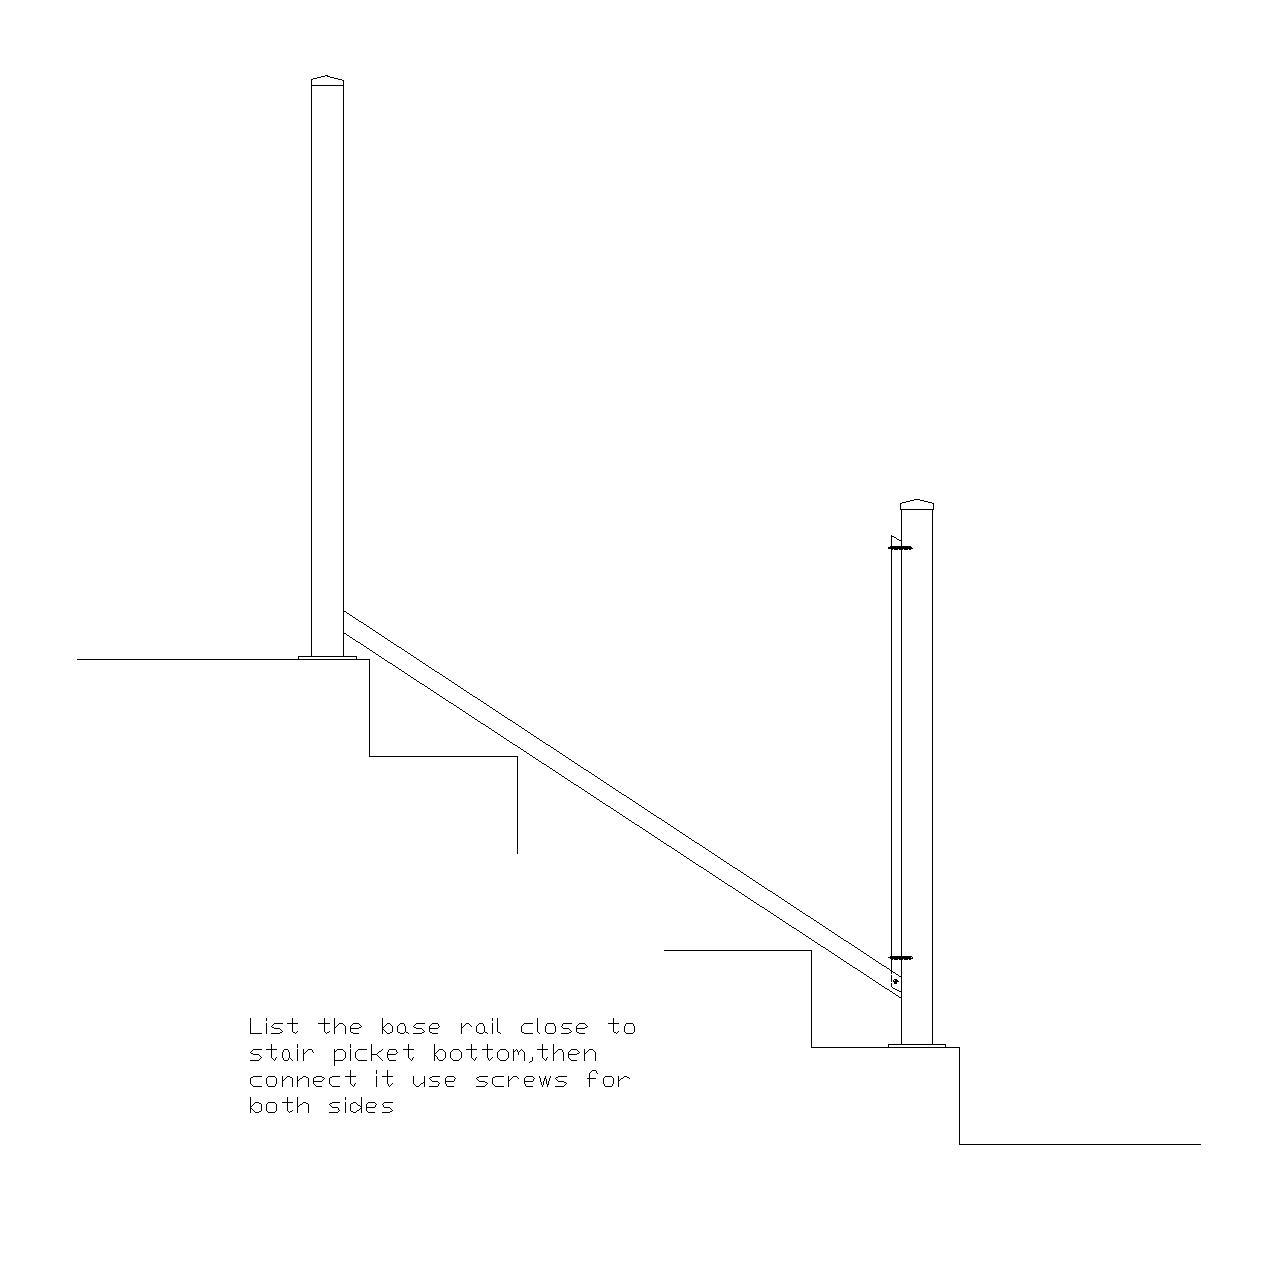
- Attach the First Picket
- Secure a stair picket to the lower post using screws.
- Install the Base Rail
- Position the base rail between the two posts, ensuring the attached picket is fully inserted.
- Secure the rail to the picket using screws.
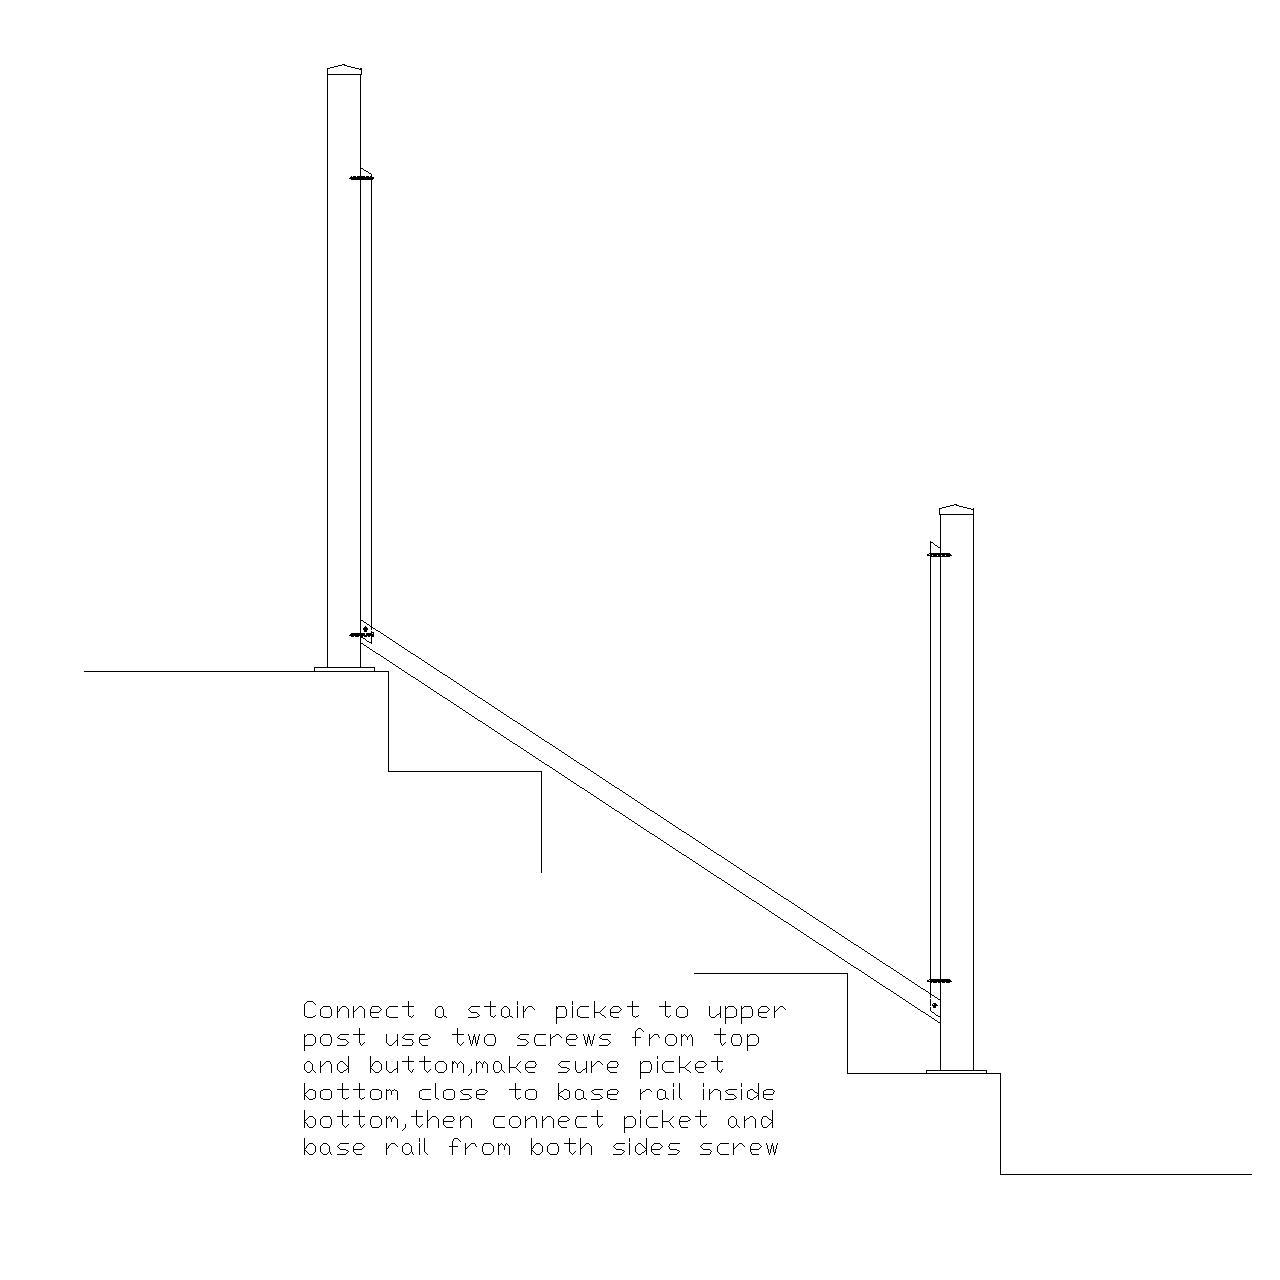
- Attach the Second Picket
- Secure a stair picket to the upper post, then connect it to the base rail using the same method as in Step 5.
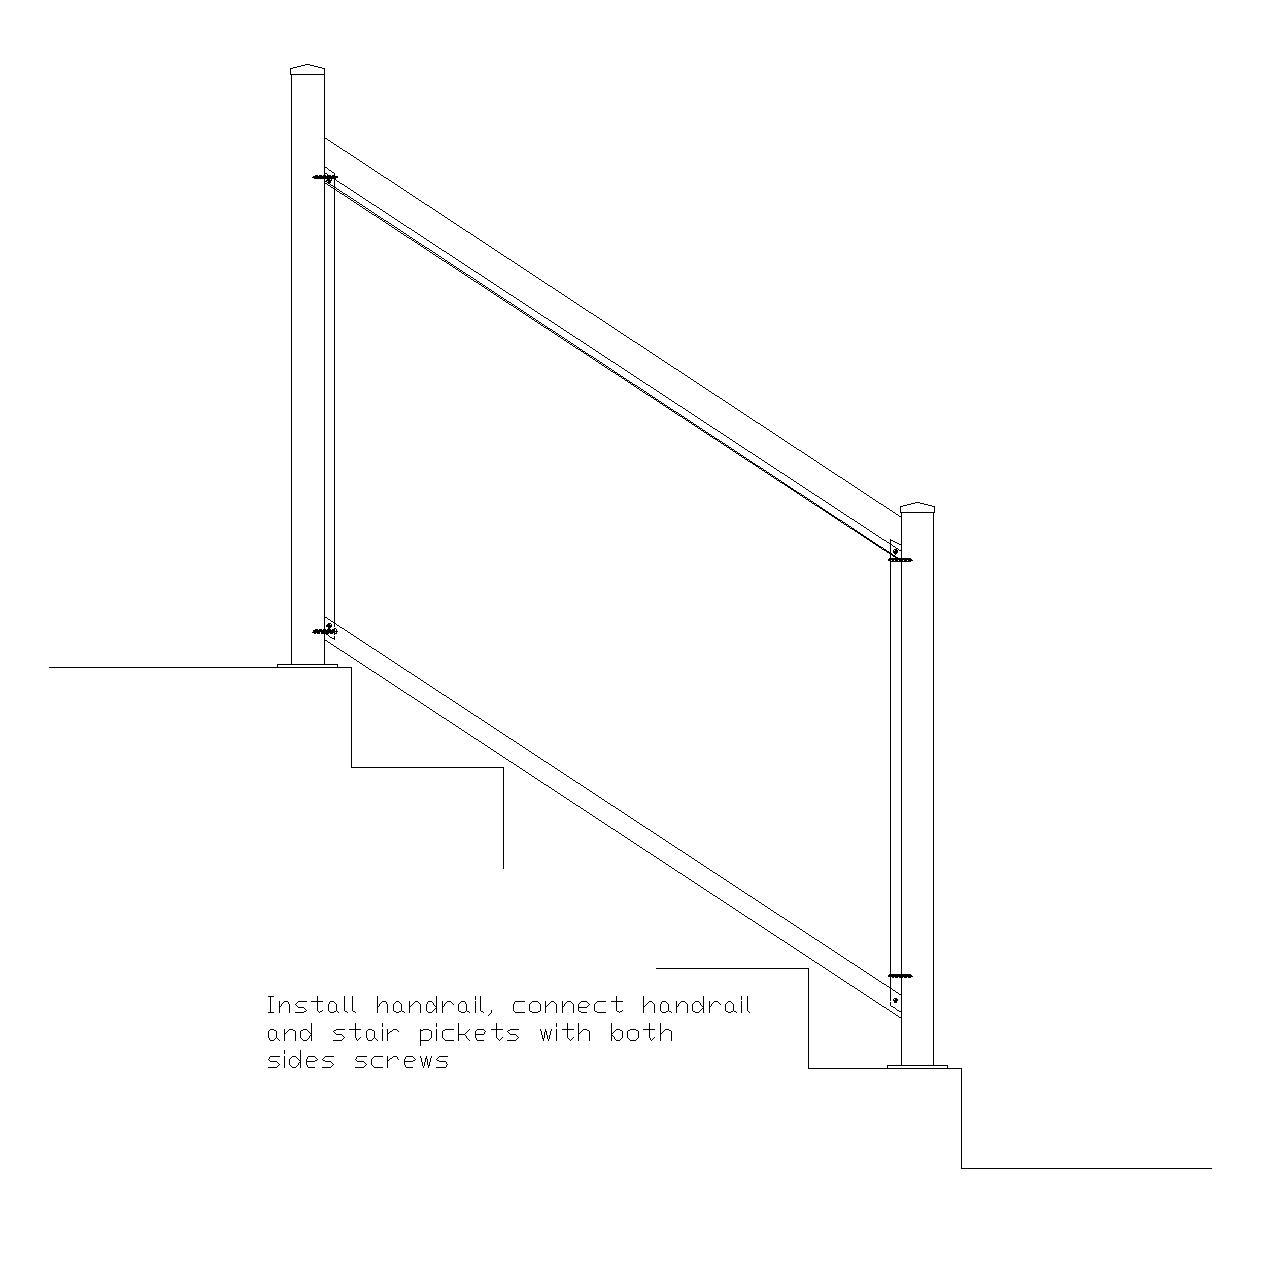
- Install the Handrail
- Position the handrail between the two posts, ensuring the pickets are fully inserted into it.
- Secure the handrail with four screws (two at each end).
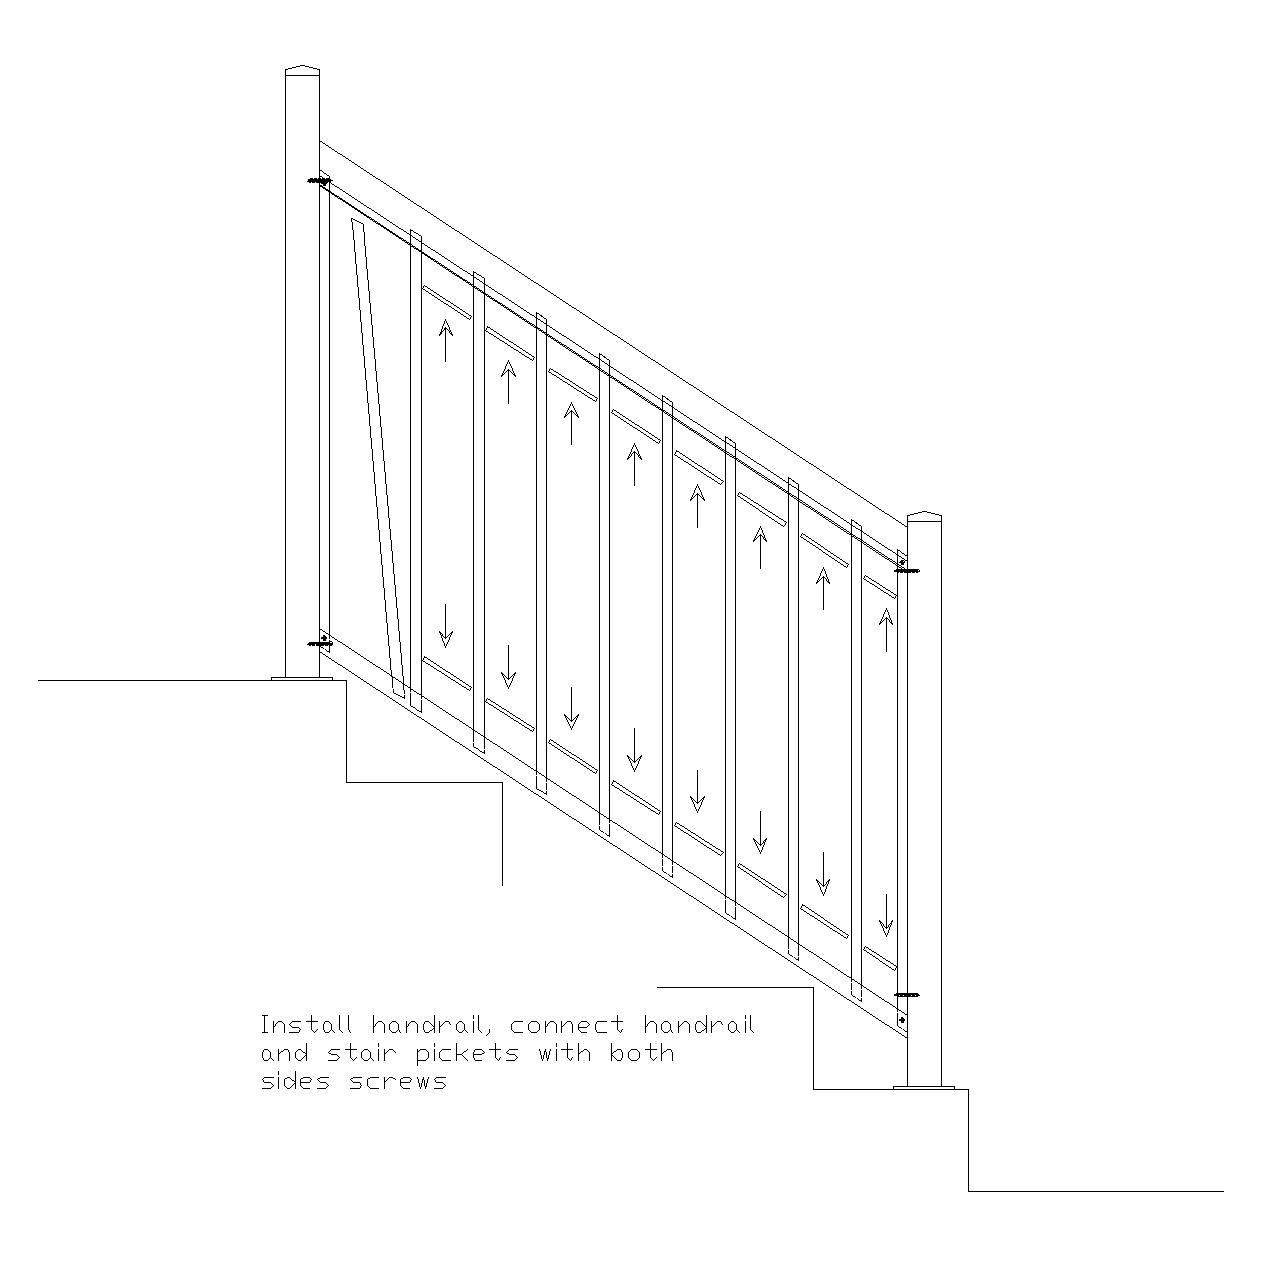
- Insert and Secure Remaining Pickets
- Insert the remaining pickets, ensuring proper spacing.
- Use spacers to secure the pickets at both the top and bottom.
- Final Check
- Inspect the entire section for stability, alignment, and proper fastening.